Two Rivers Ohakune
Media Pack - Tongariro Crossing
Please find a selection of photos from January 2021 that show the Tongariro Crossing on a calm and very hot day.
The Tongariro Crossing is a serious but amazing endeavour, please research it carefully and follow all the official advice, especially from park rangers.
This simple web page is best viewed from a laptop or browser.
All images are owned by Two Rivers Ohakune.
Download all images as a zip file. (~74 MB)
For more information about Two Rivers Ohakune, please view our website at https://www.tworiversohakune.com/
Contact us at info@tworiversohakune.com
The following photos are in sequential order, taking the standard route of south to north.
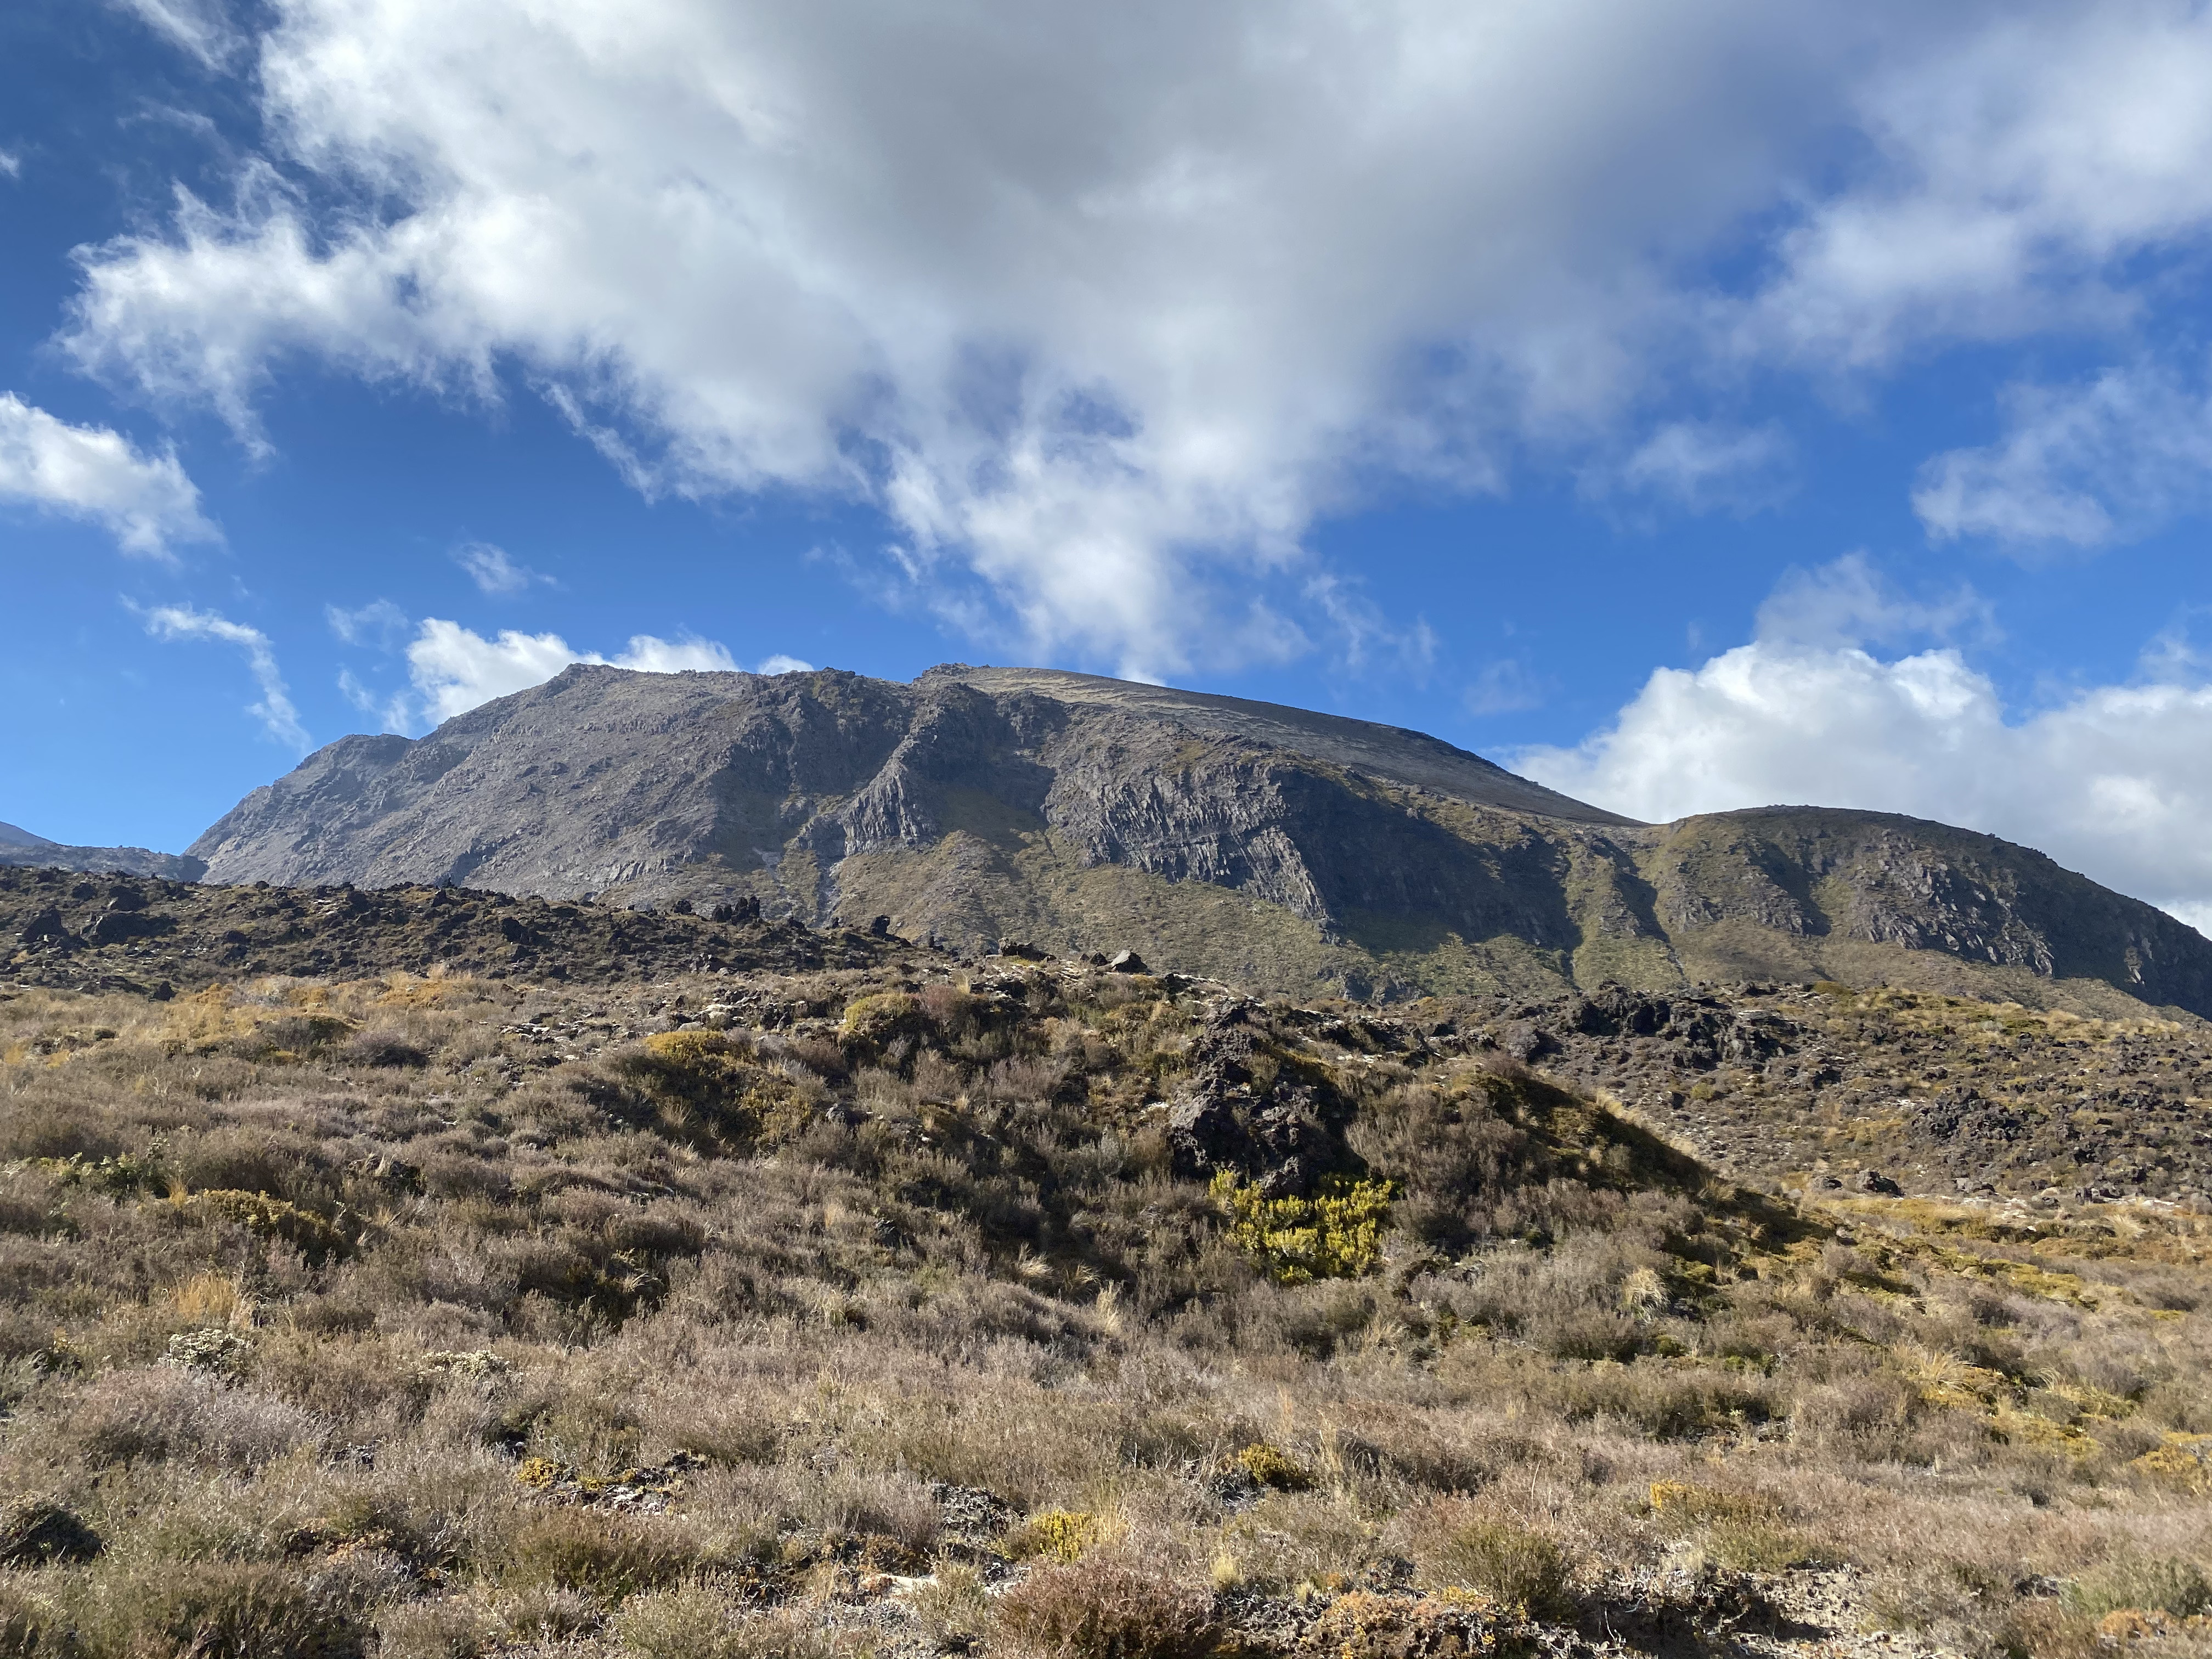
Dramatic, beautiful, the start of the Tongariro Crossing.
Credit: Two Rivers
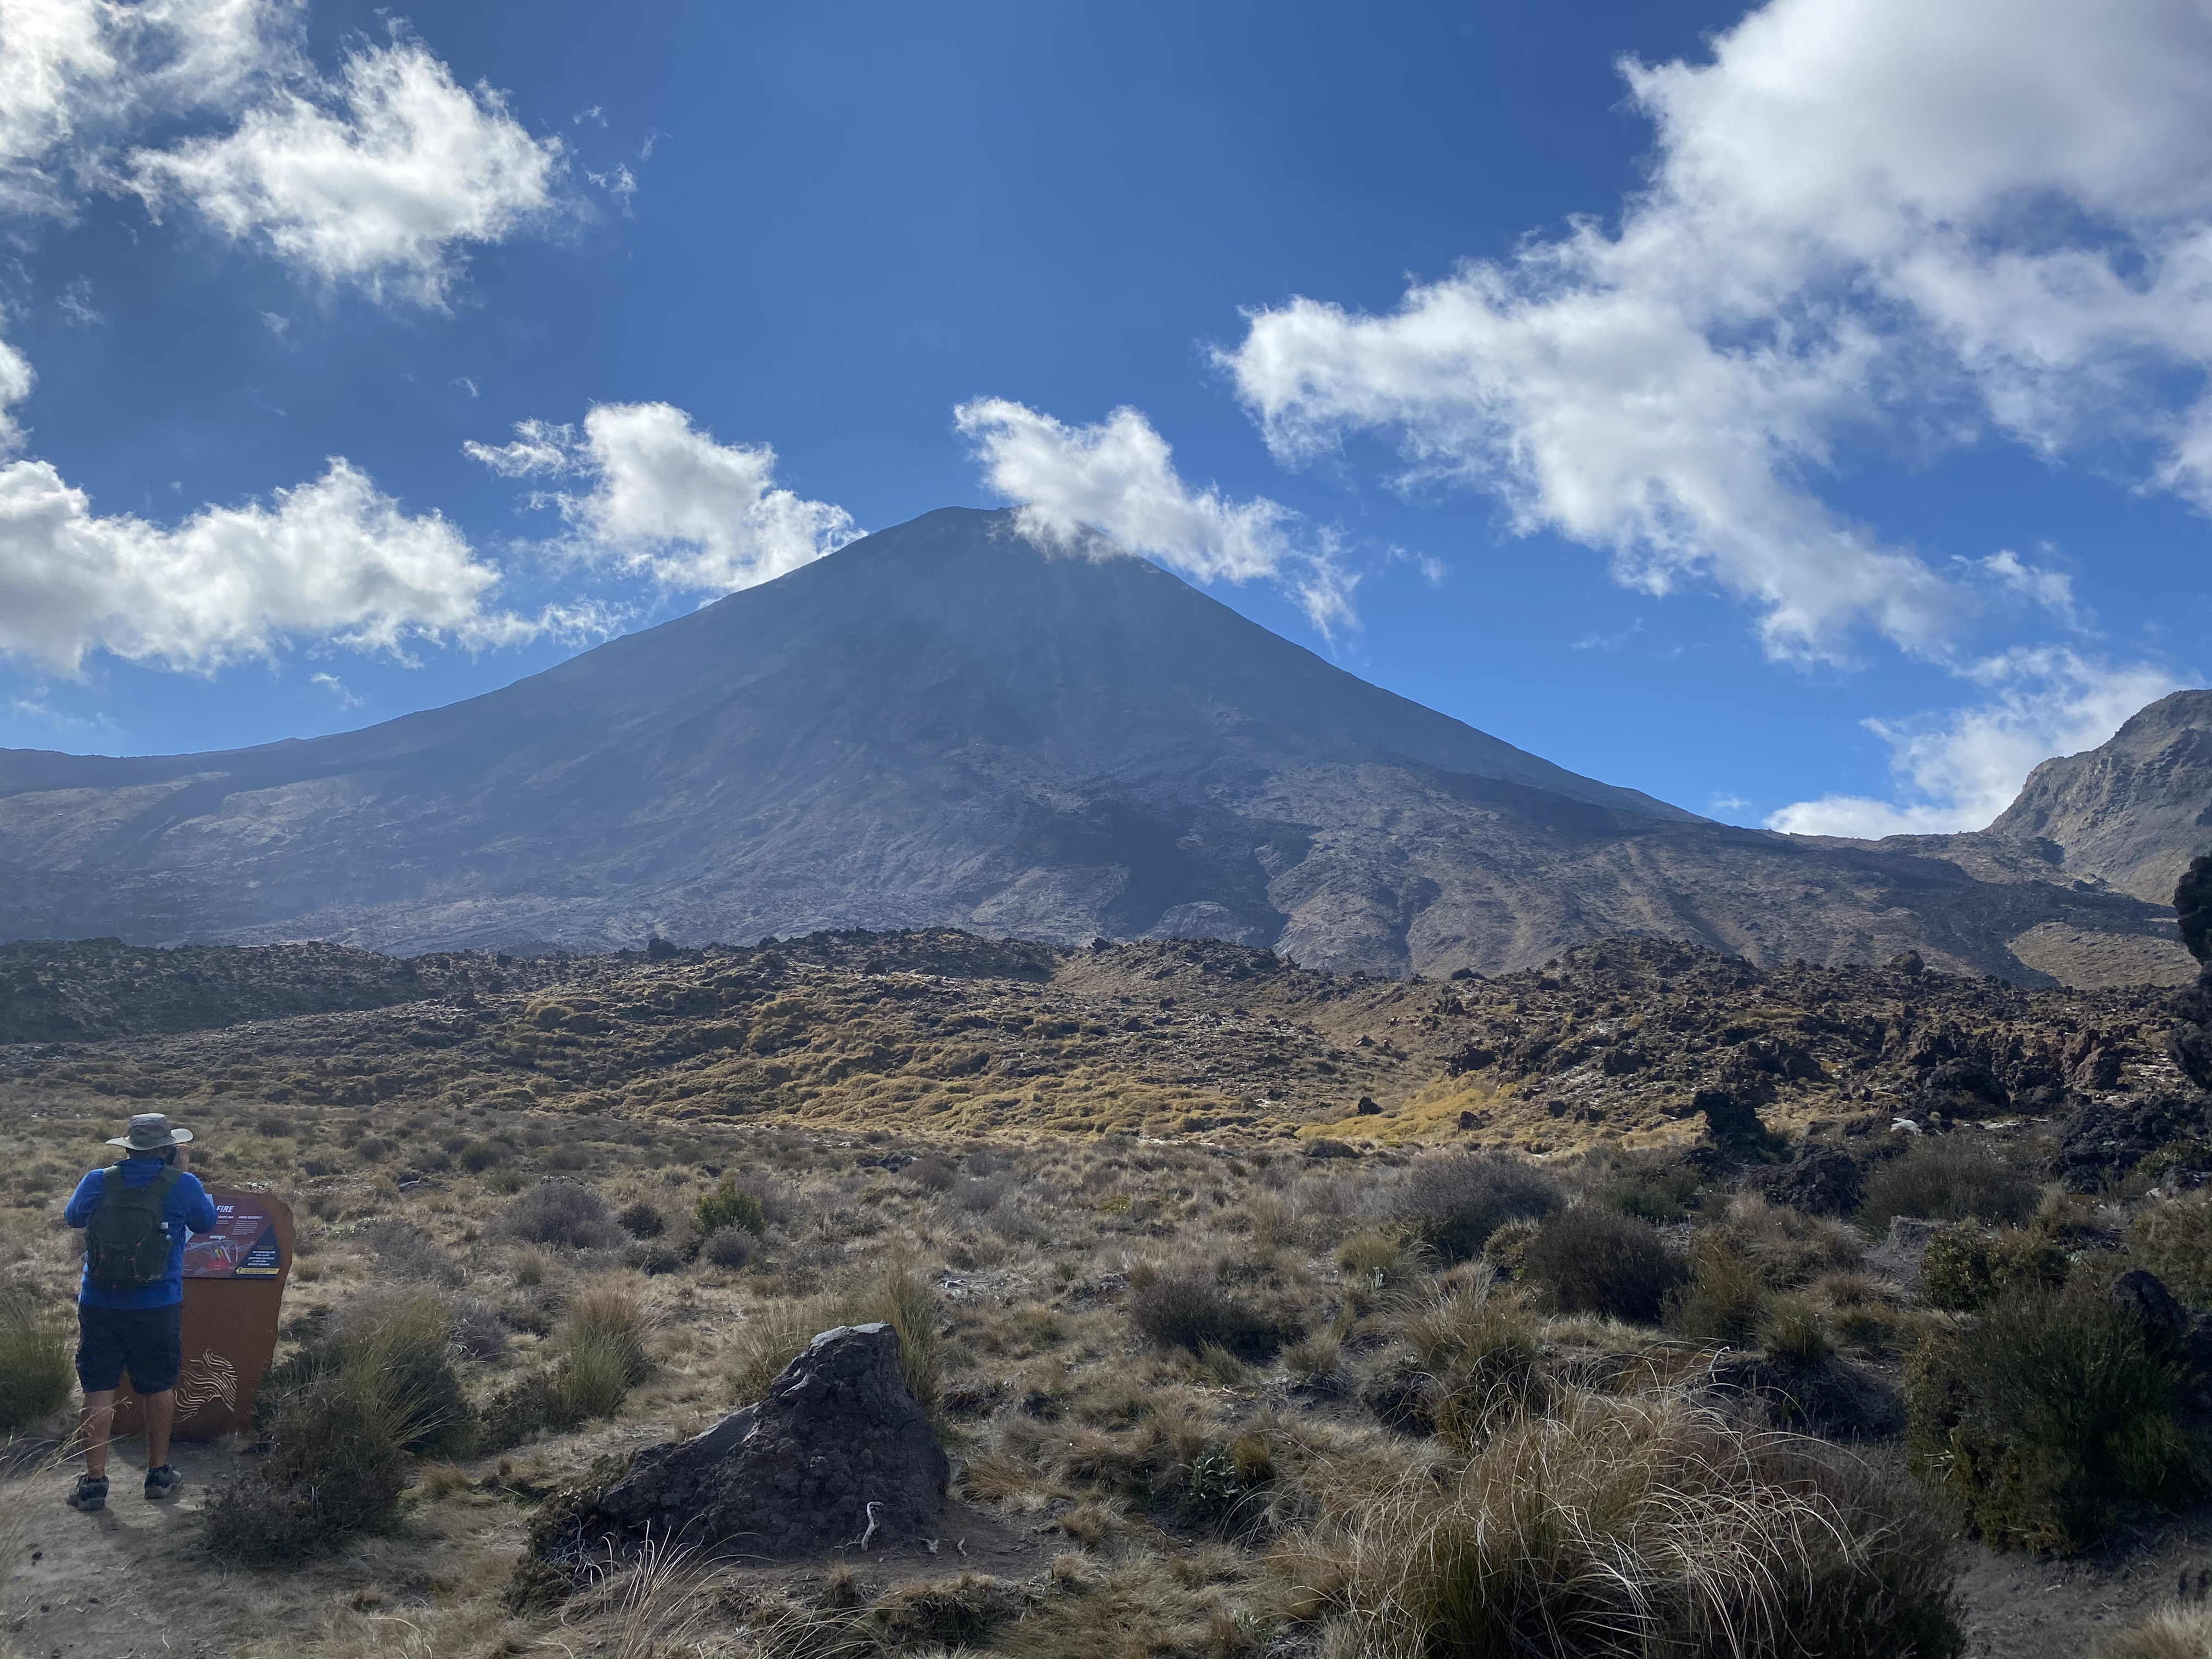
Walking towards Mt Ngauruhoe at the start of the trail. To some it's known as Mt Doom.
Credit: Two Rivers
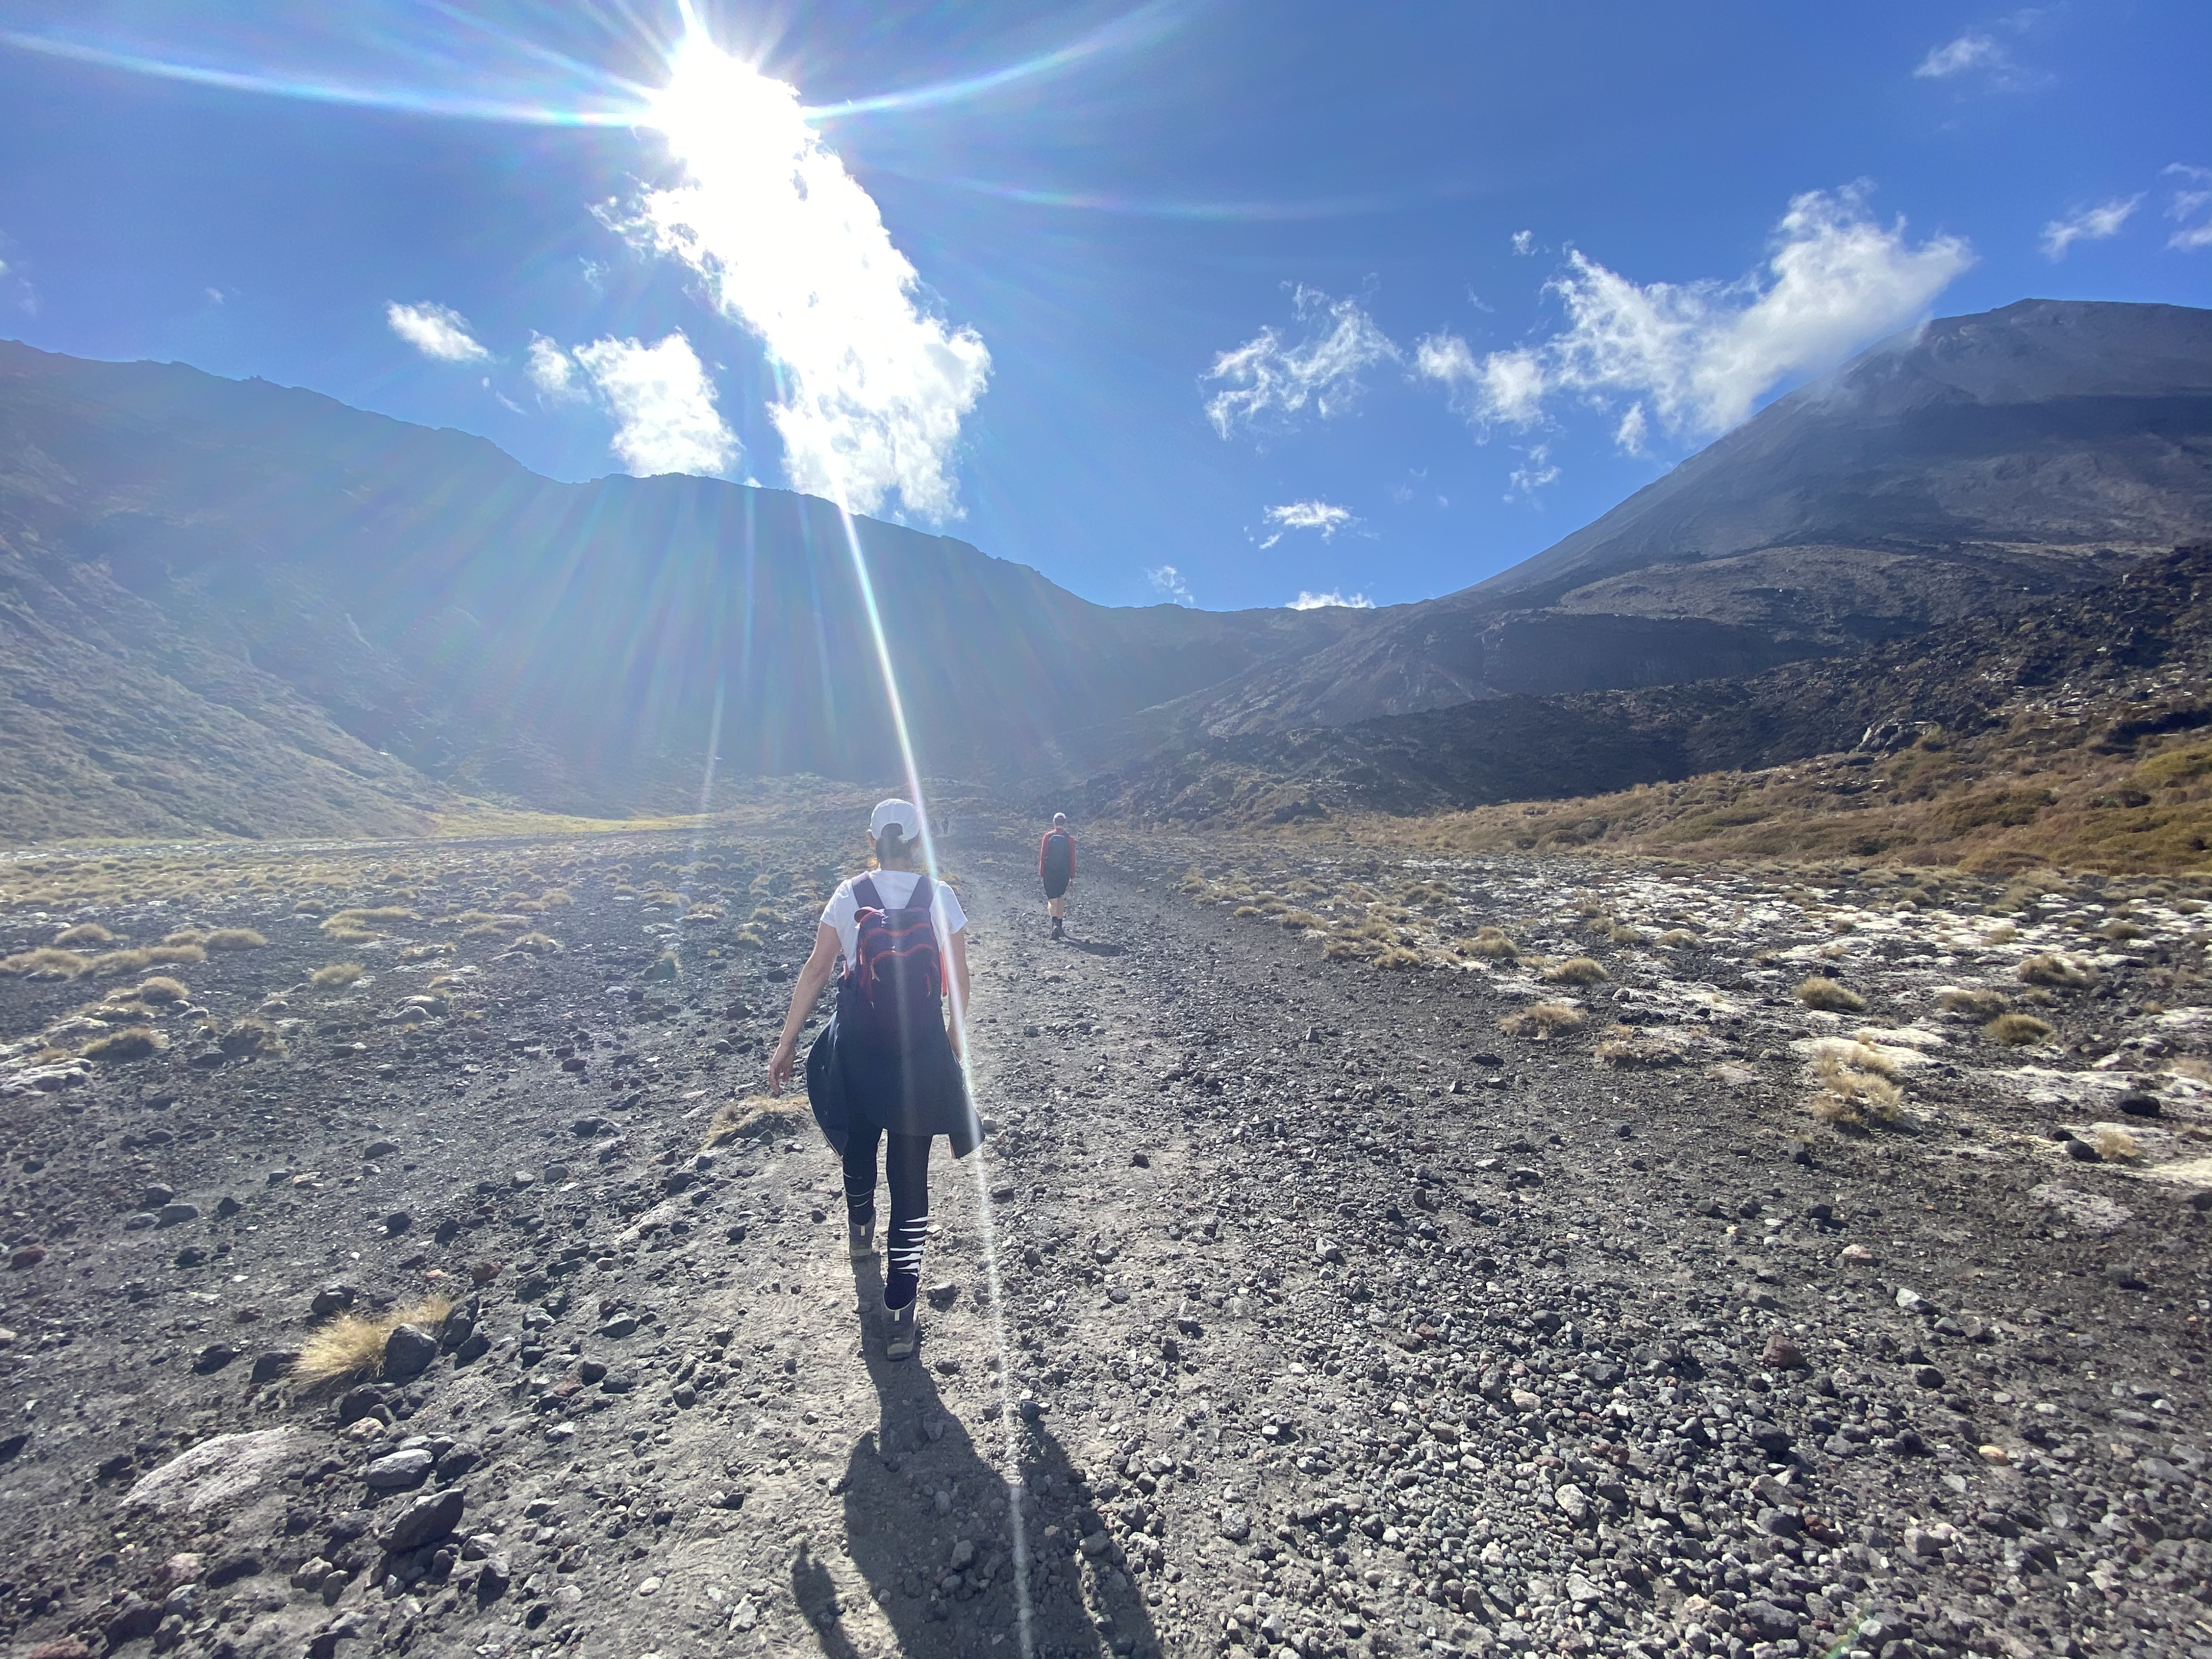
Walking beside the acidic river known as Soda Springs. The mountains start to close in around you at this point, and you stand in awe at their beauty.
Credit: Two Rivers
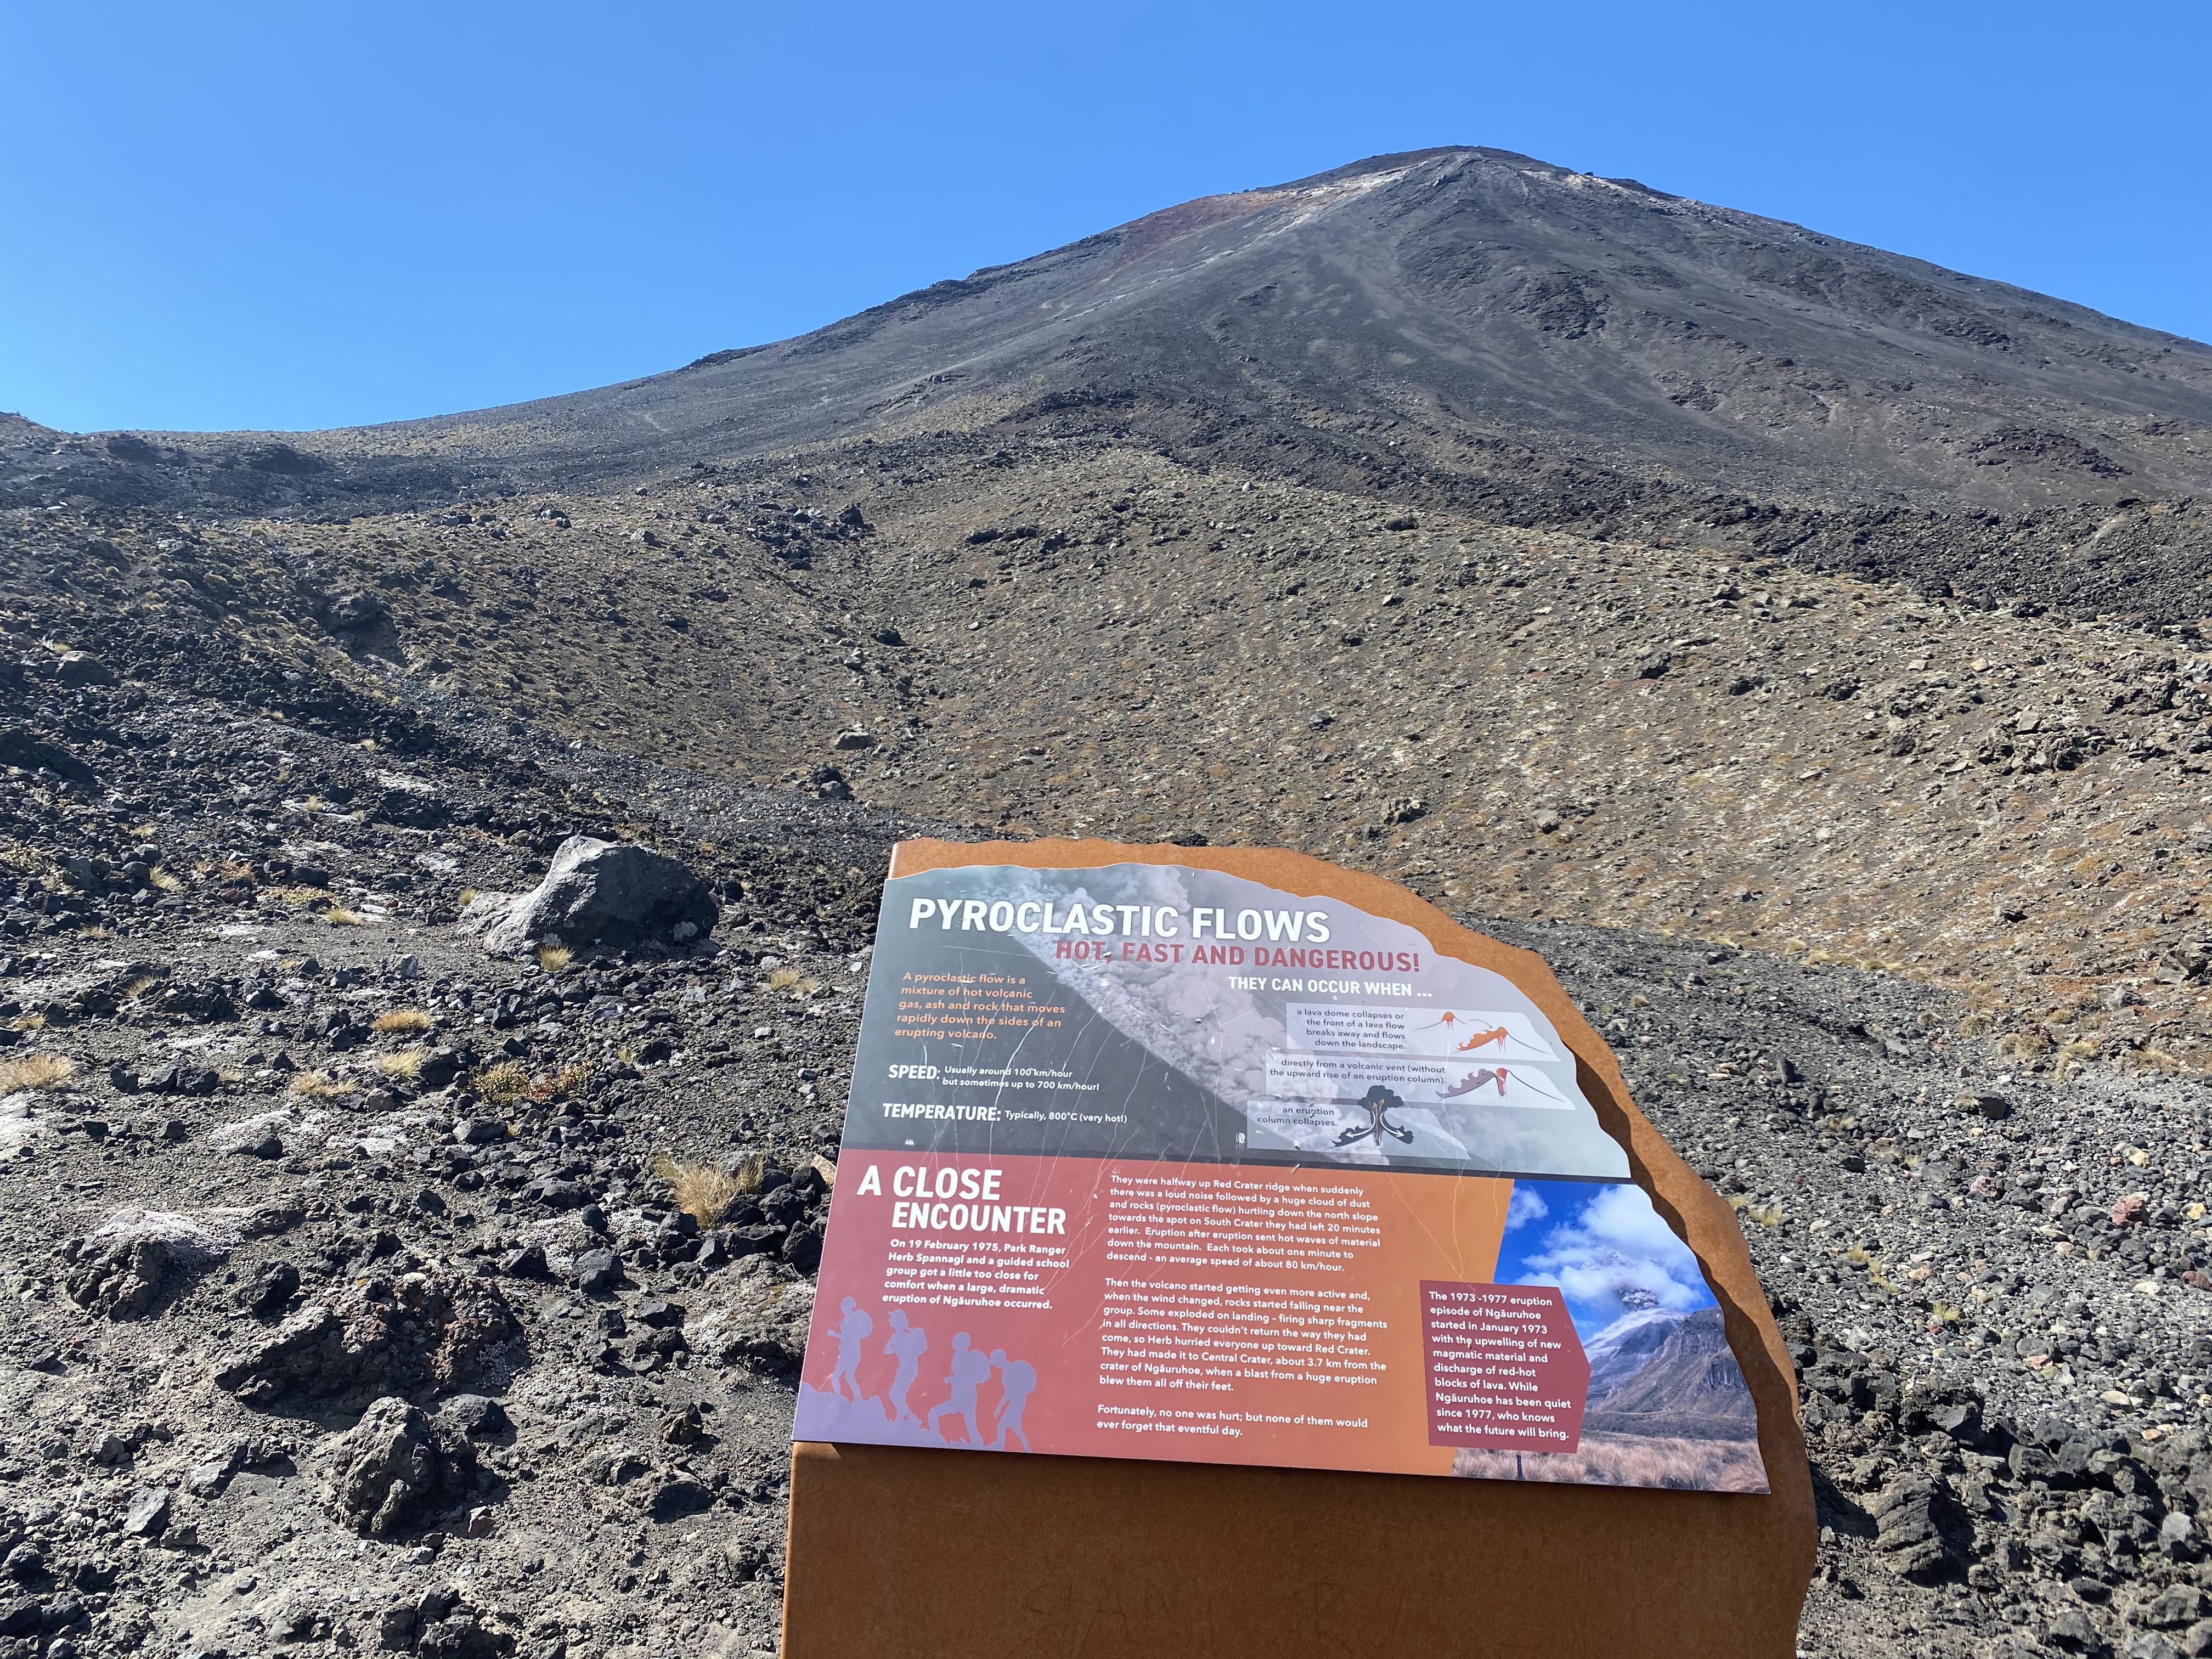
Education boards guide and inform you along the way. The geography is in action in these locations, whilst it's educational, it reminds us of the dynamic landscape and the need to be careful.
Credit: Two Rivers
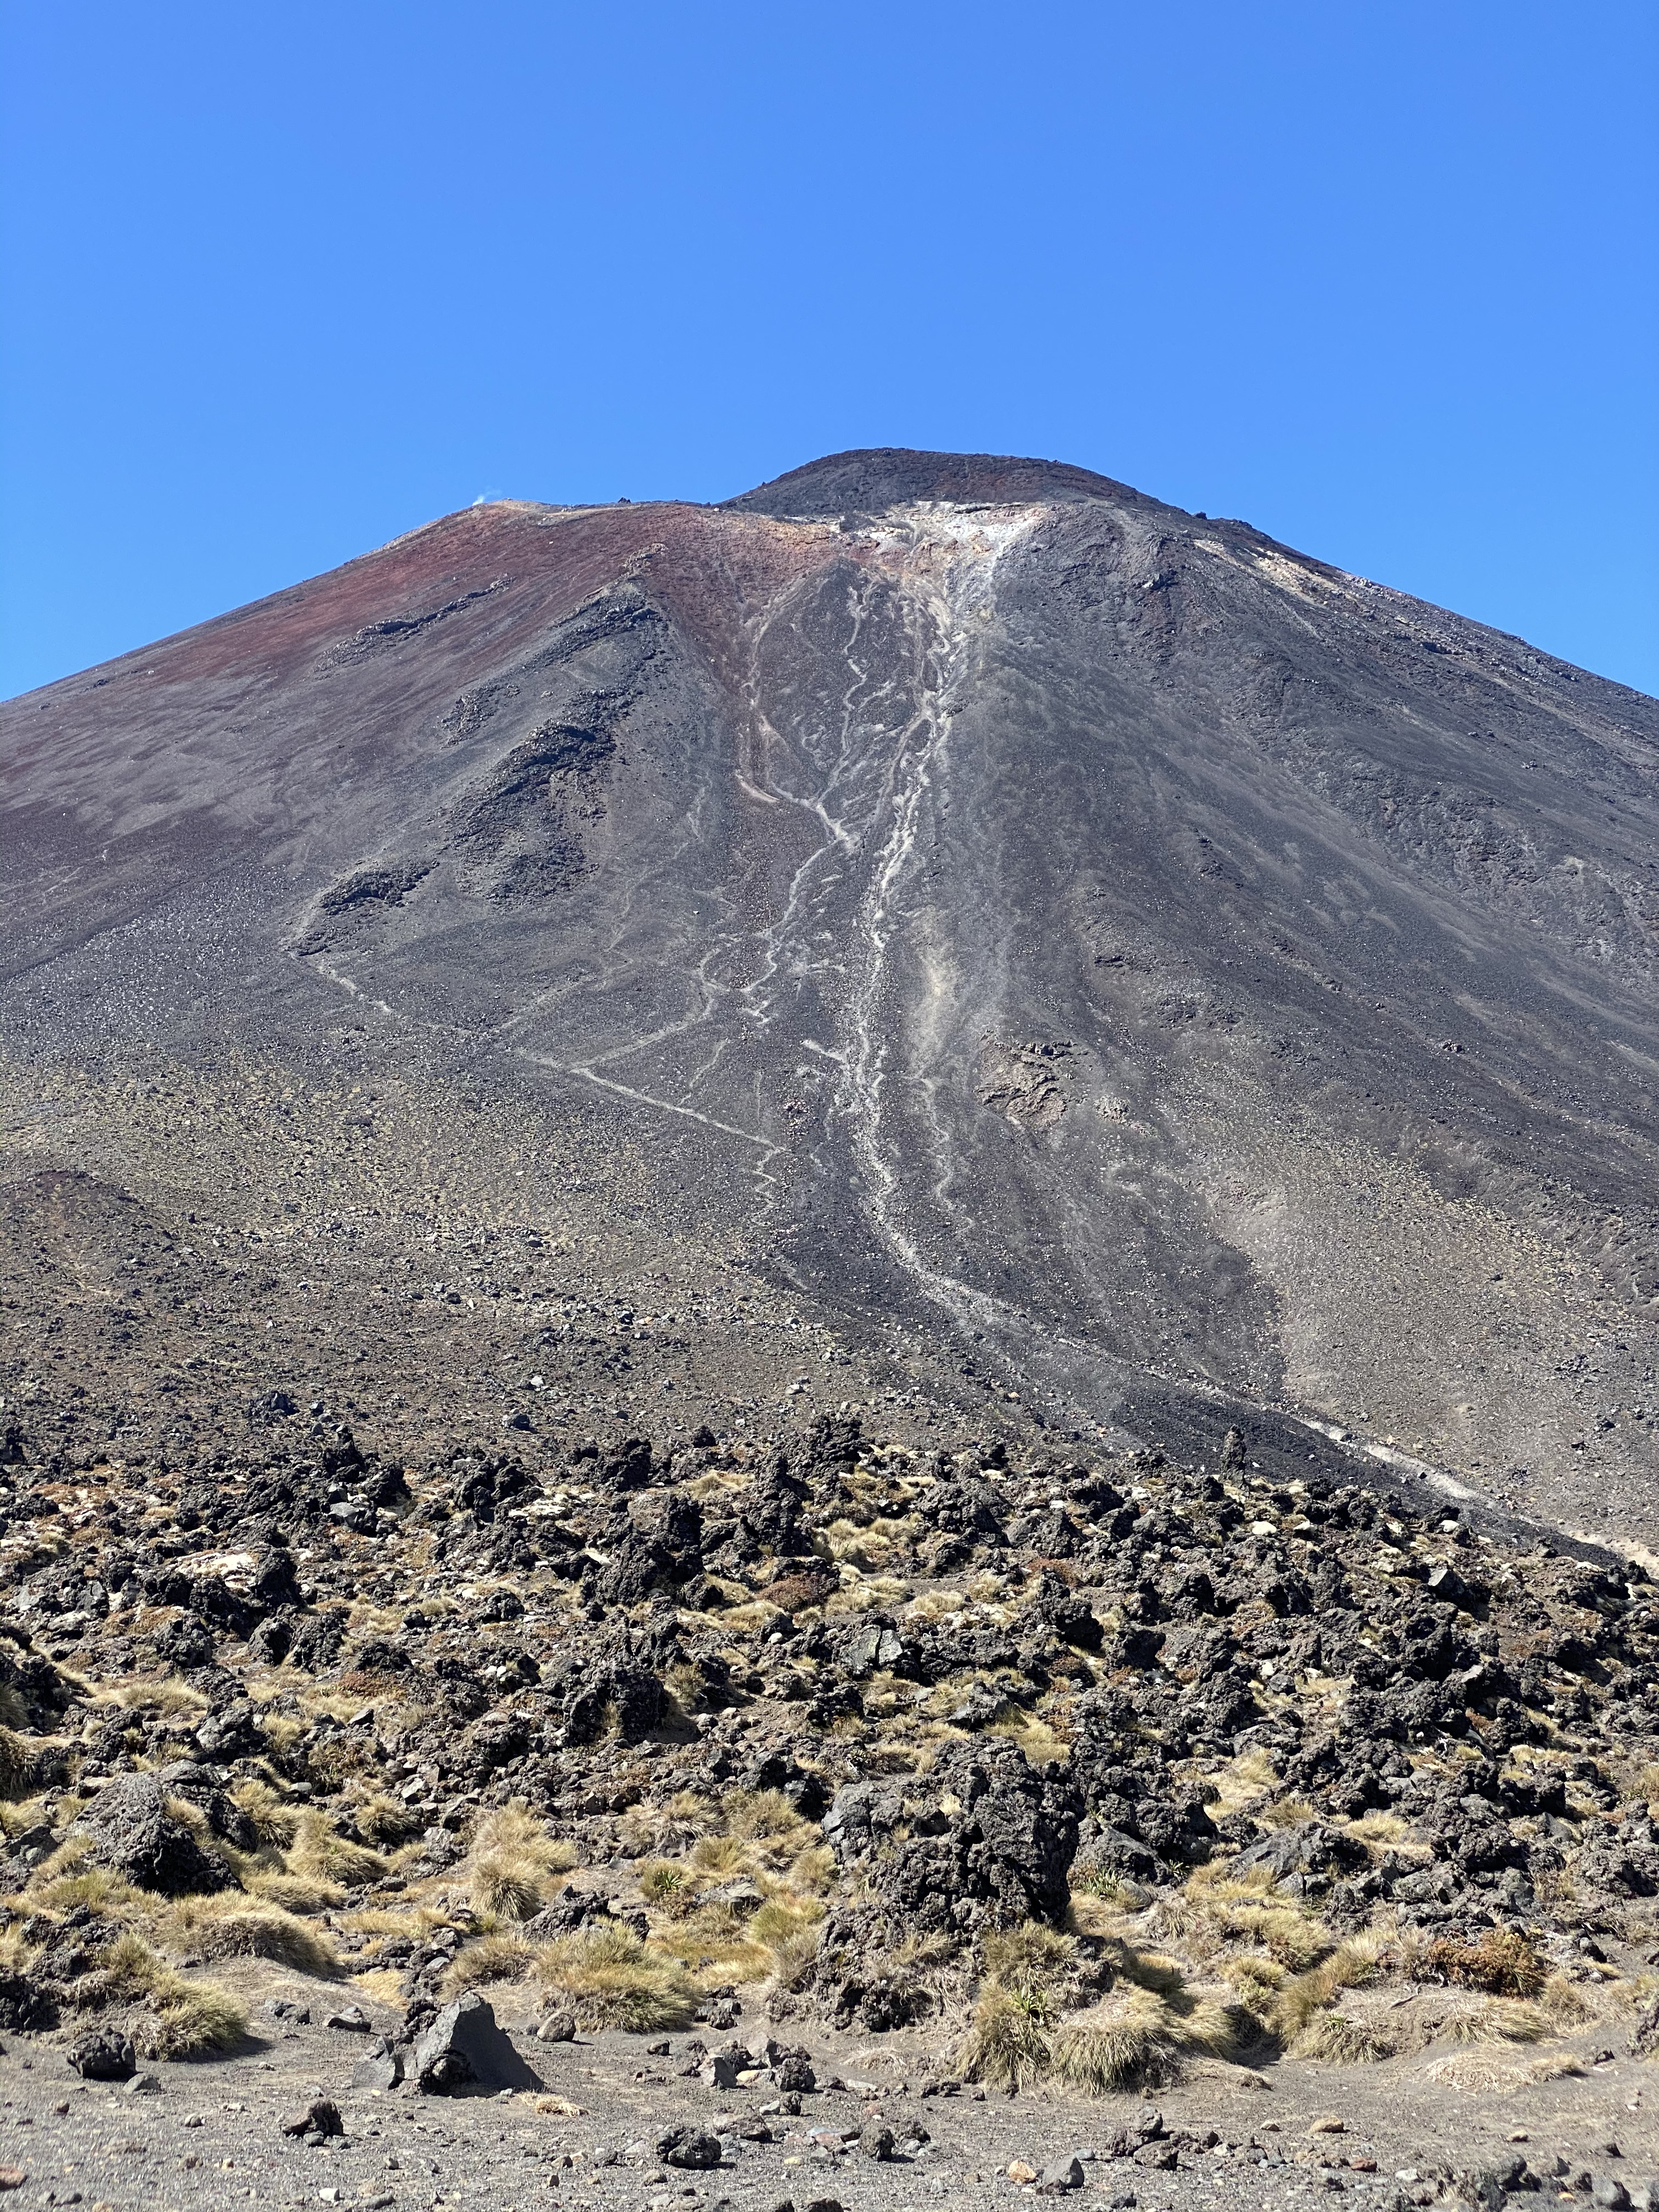
Mt Ngauruhoe, up close and personal.
Credit: Two Rivers
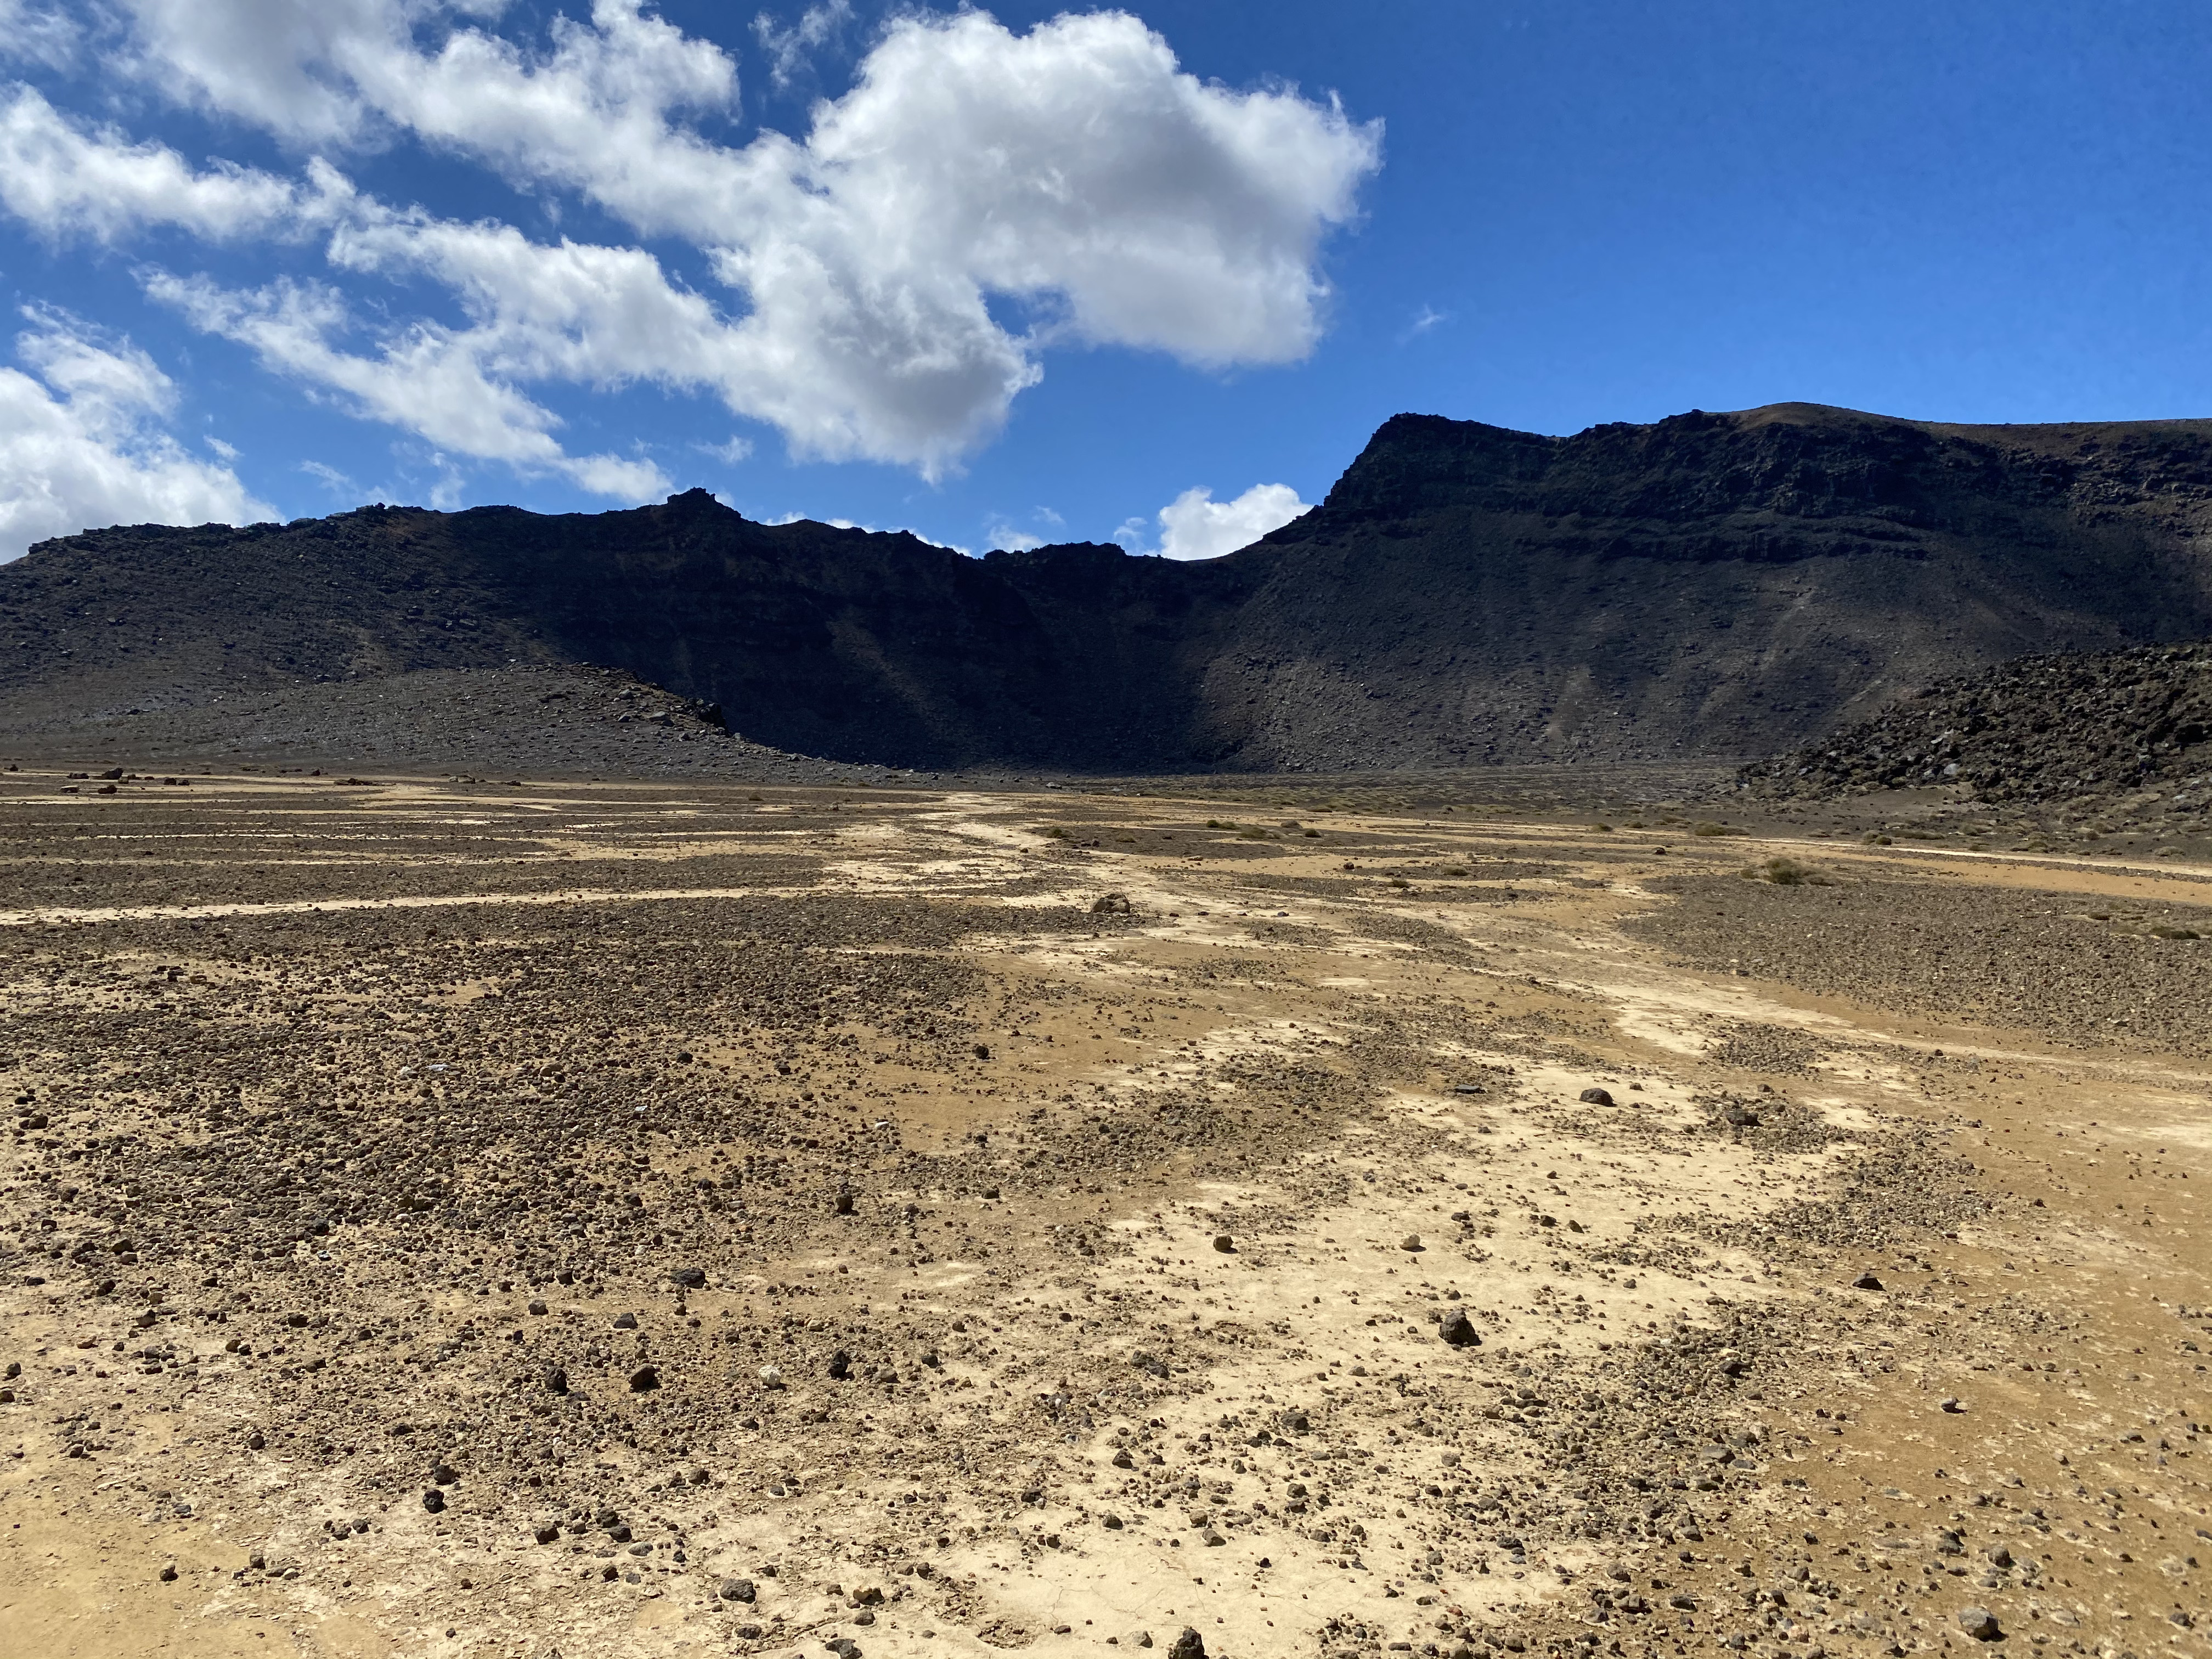
Standing in South Crater, looking north. It's at this point you realise that Mt Tongariro has mulitple vents, craters. It's complex, it's dynamic.
Credit: Two Rivers
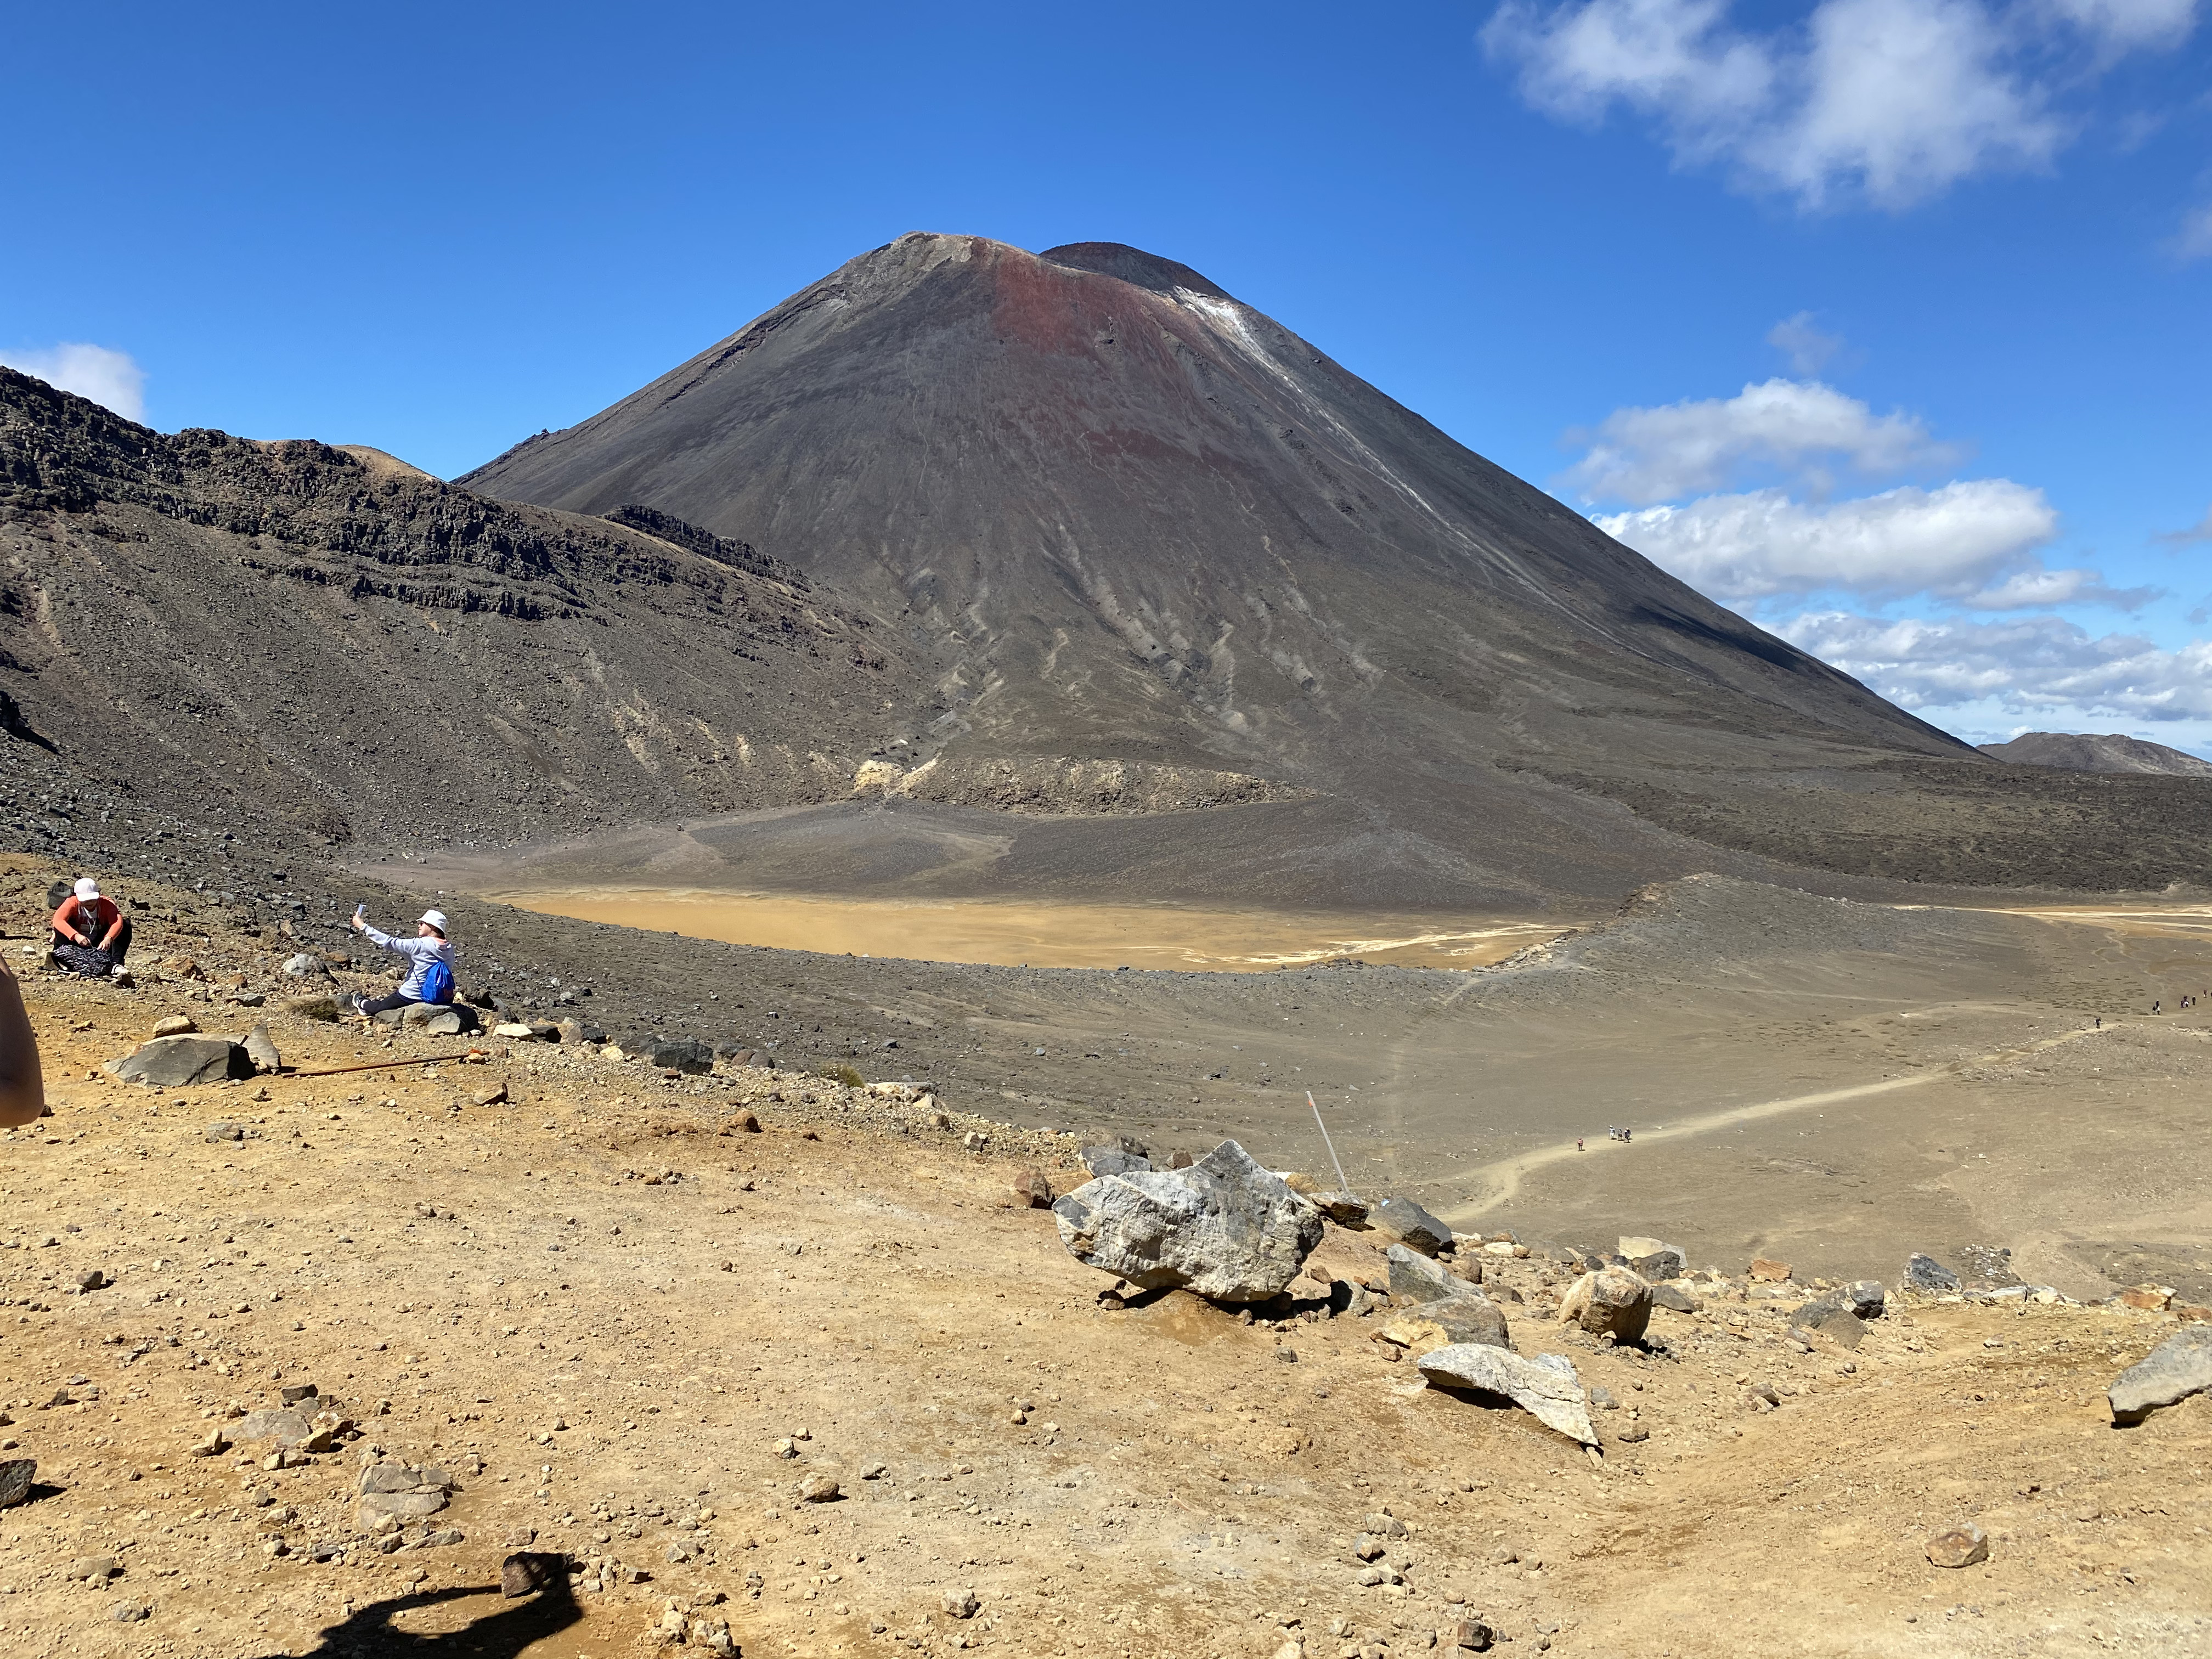
Looking south over the south crater to Mt Ngauruhoe.
Credit: Two Rivers
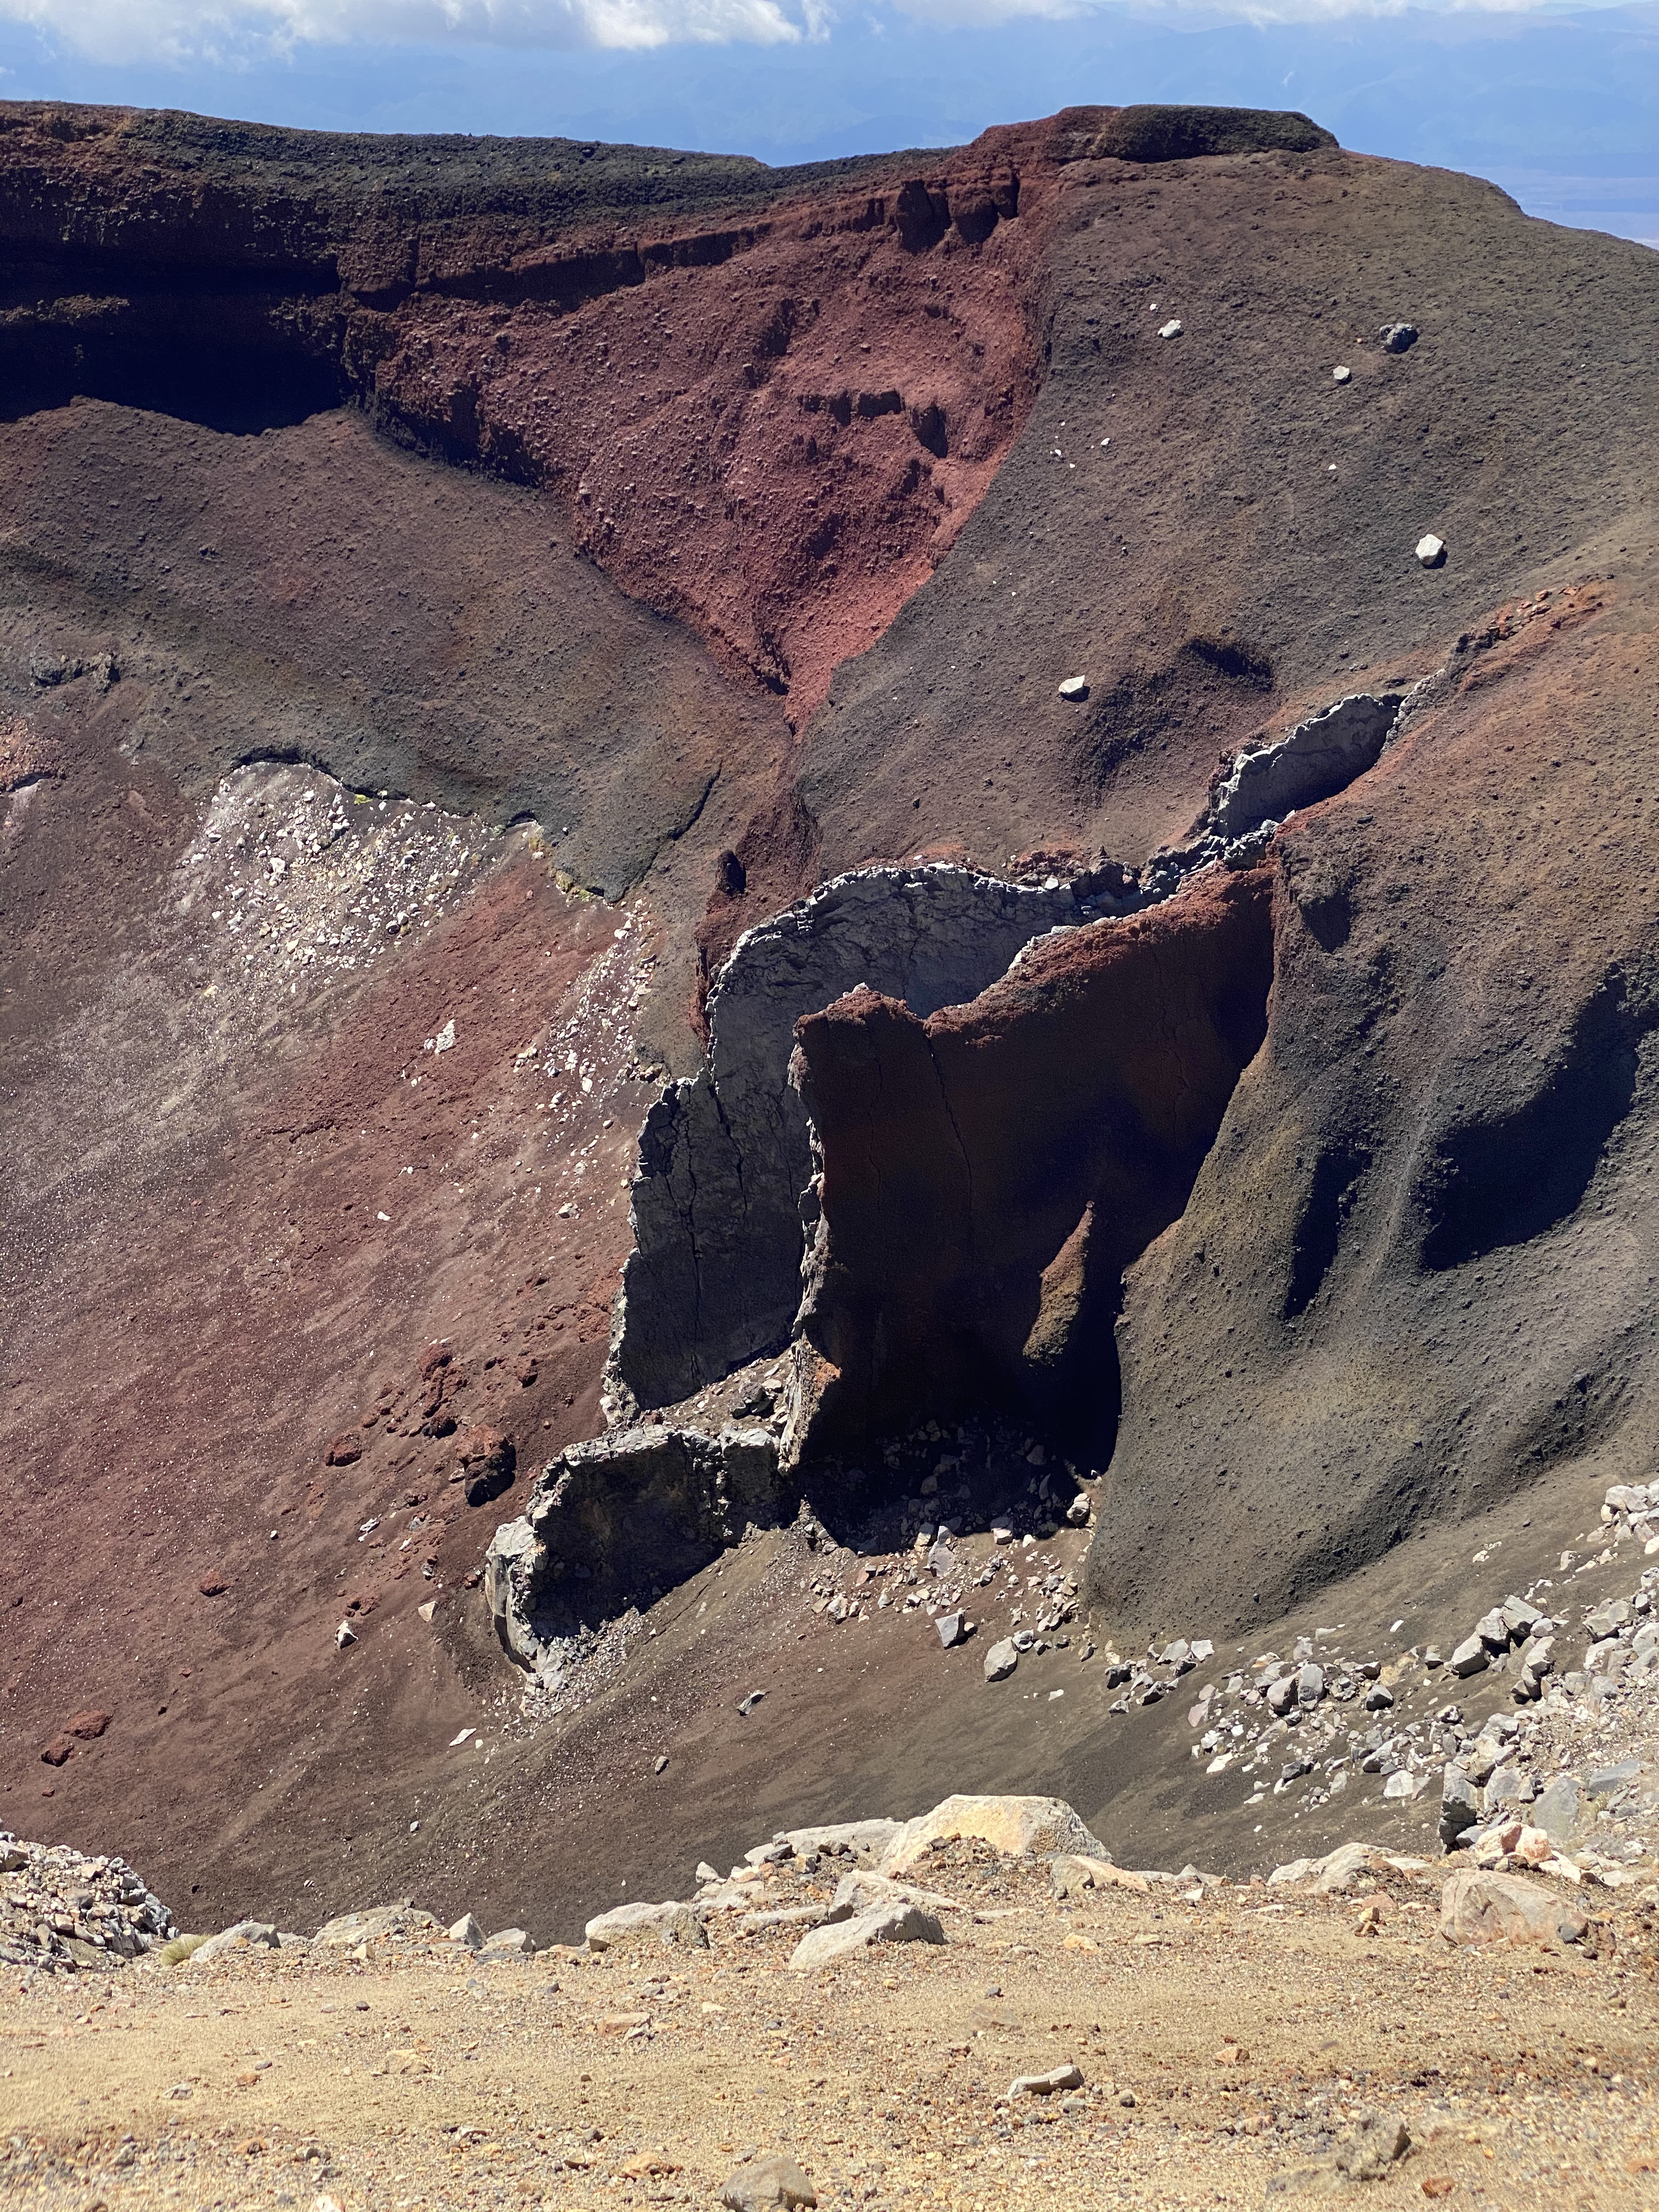
Red crater, seen on the approach of the summit of the climb. It's stunning.
Credit: Two Rivers
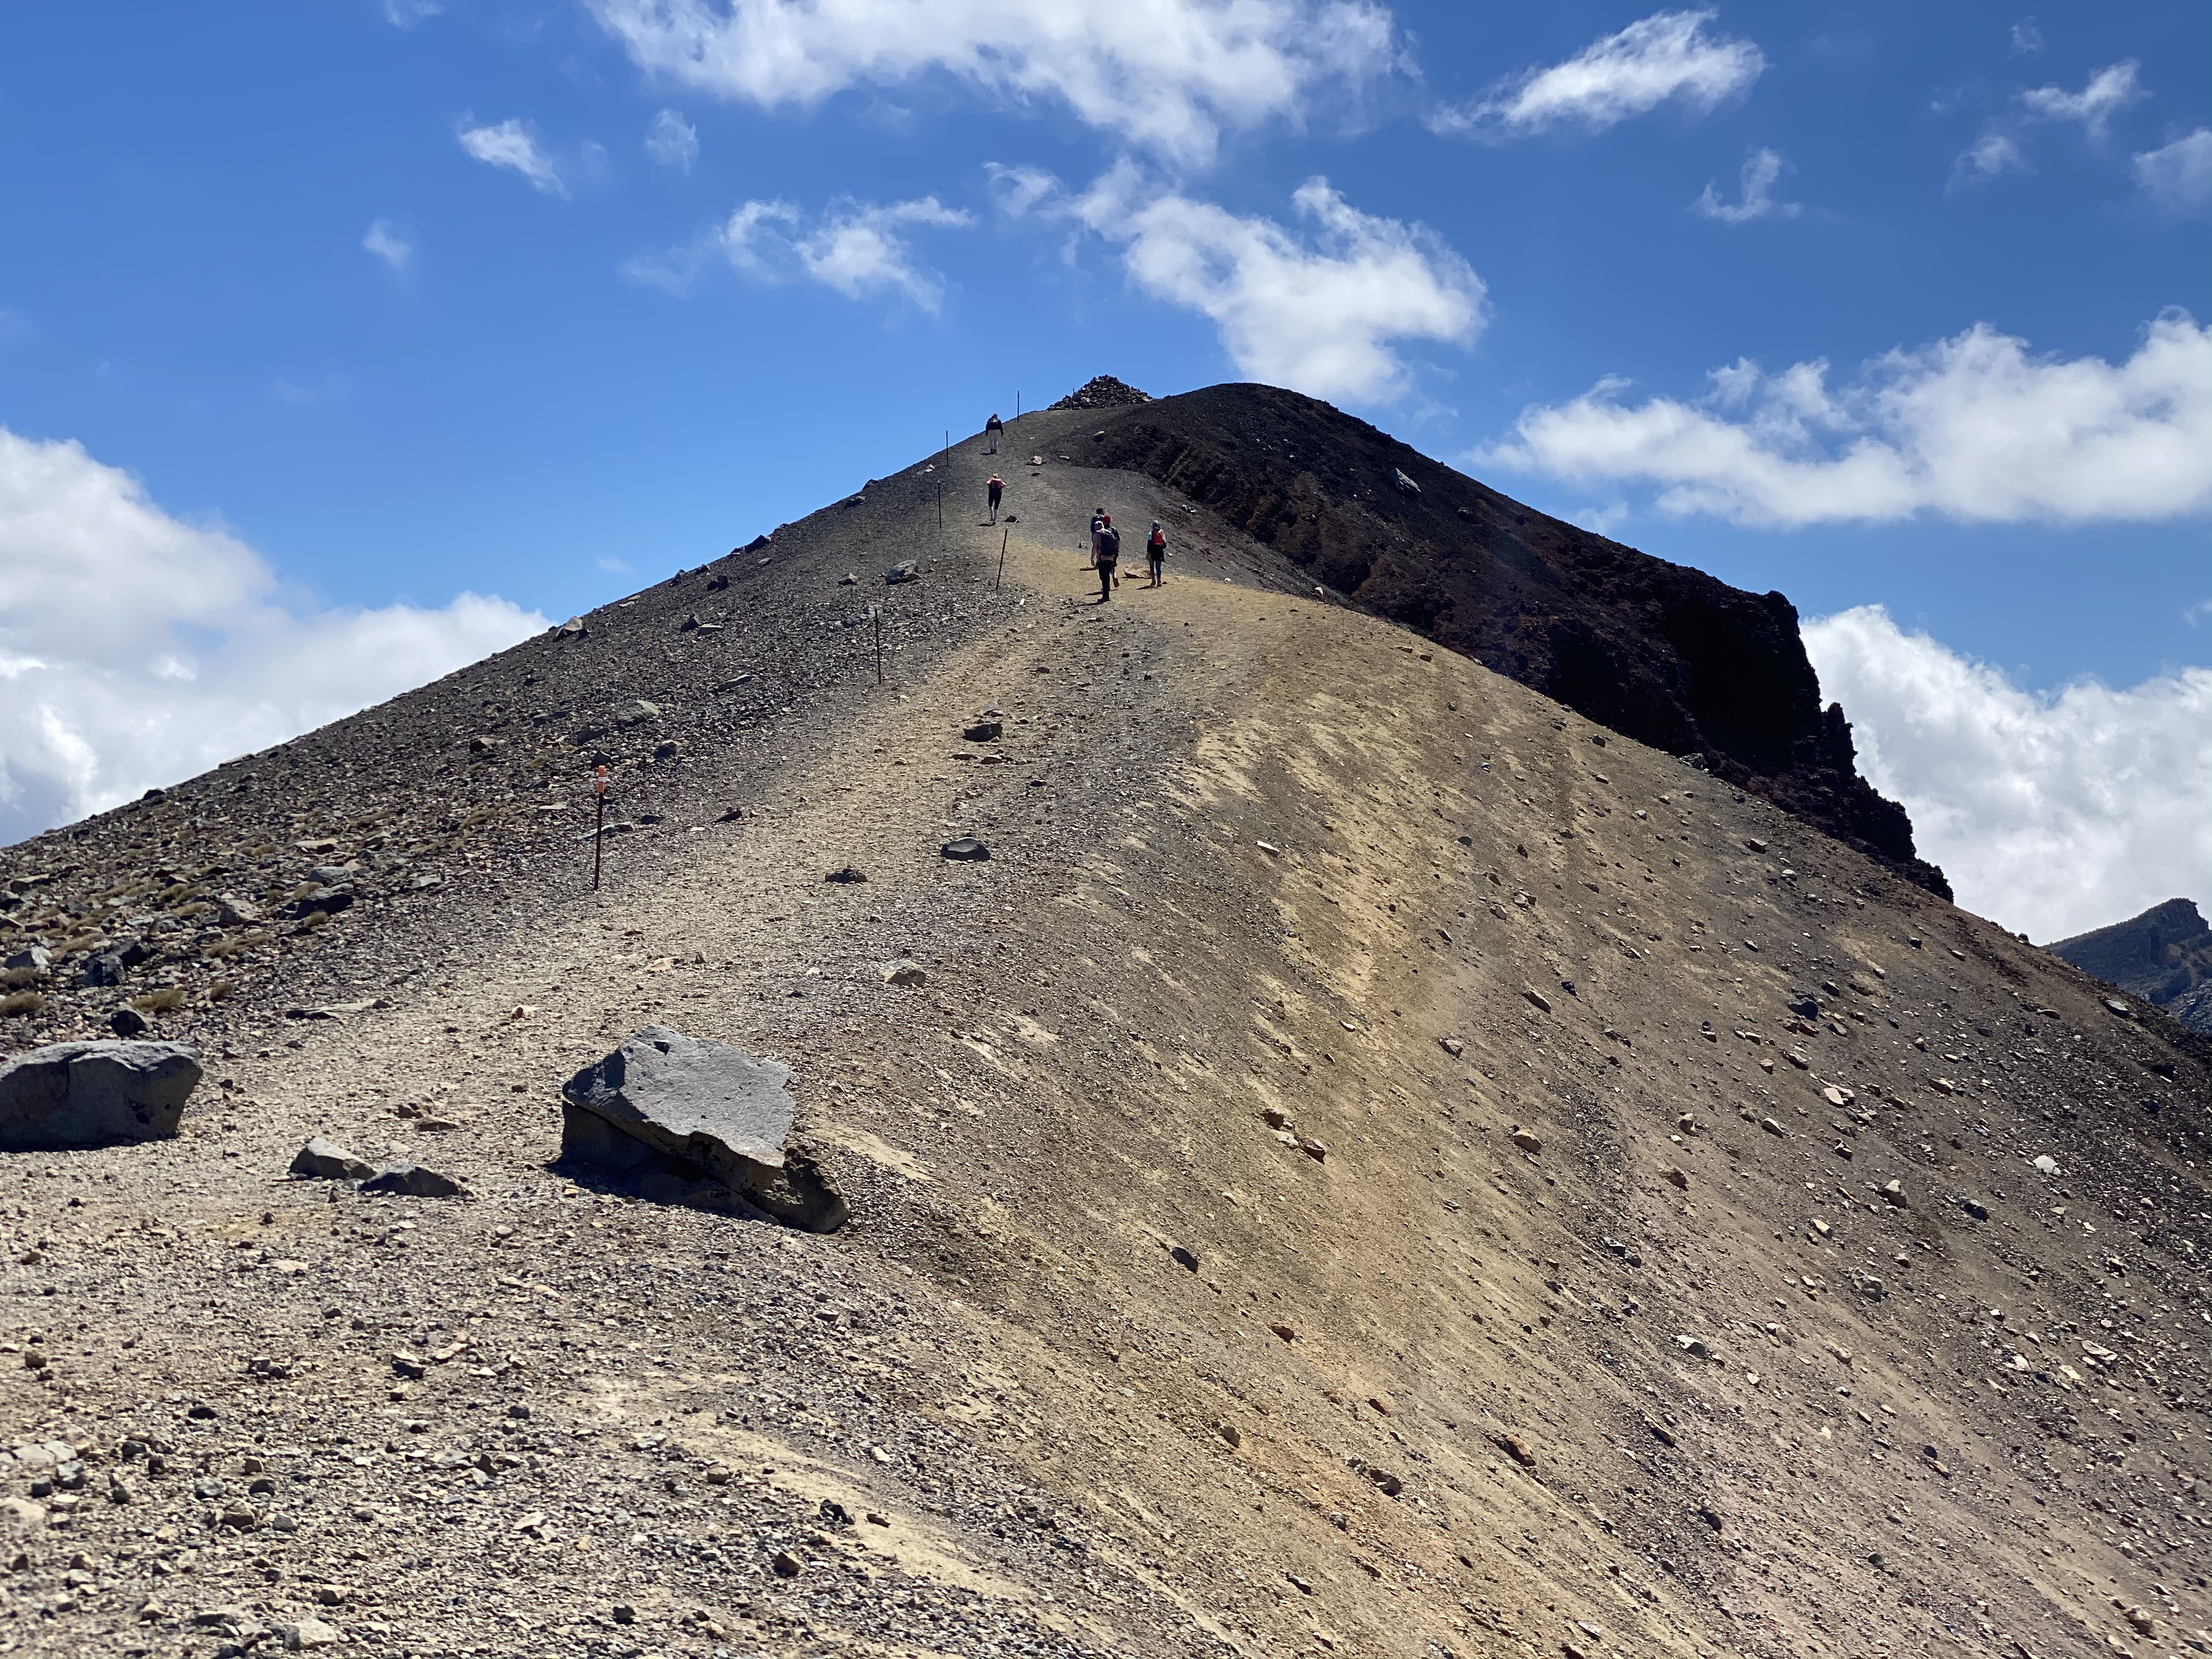
This shows the approach to the summit of the standard crossing route. Some people may climb higher if they detour.
Credit: Two Rivers
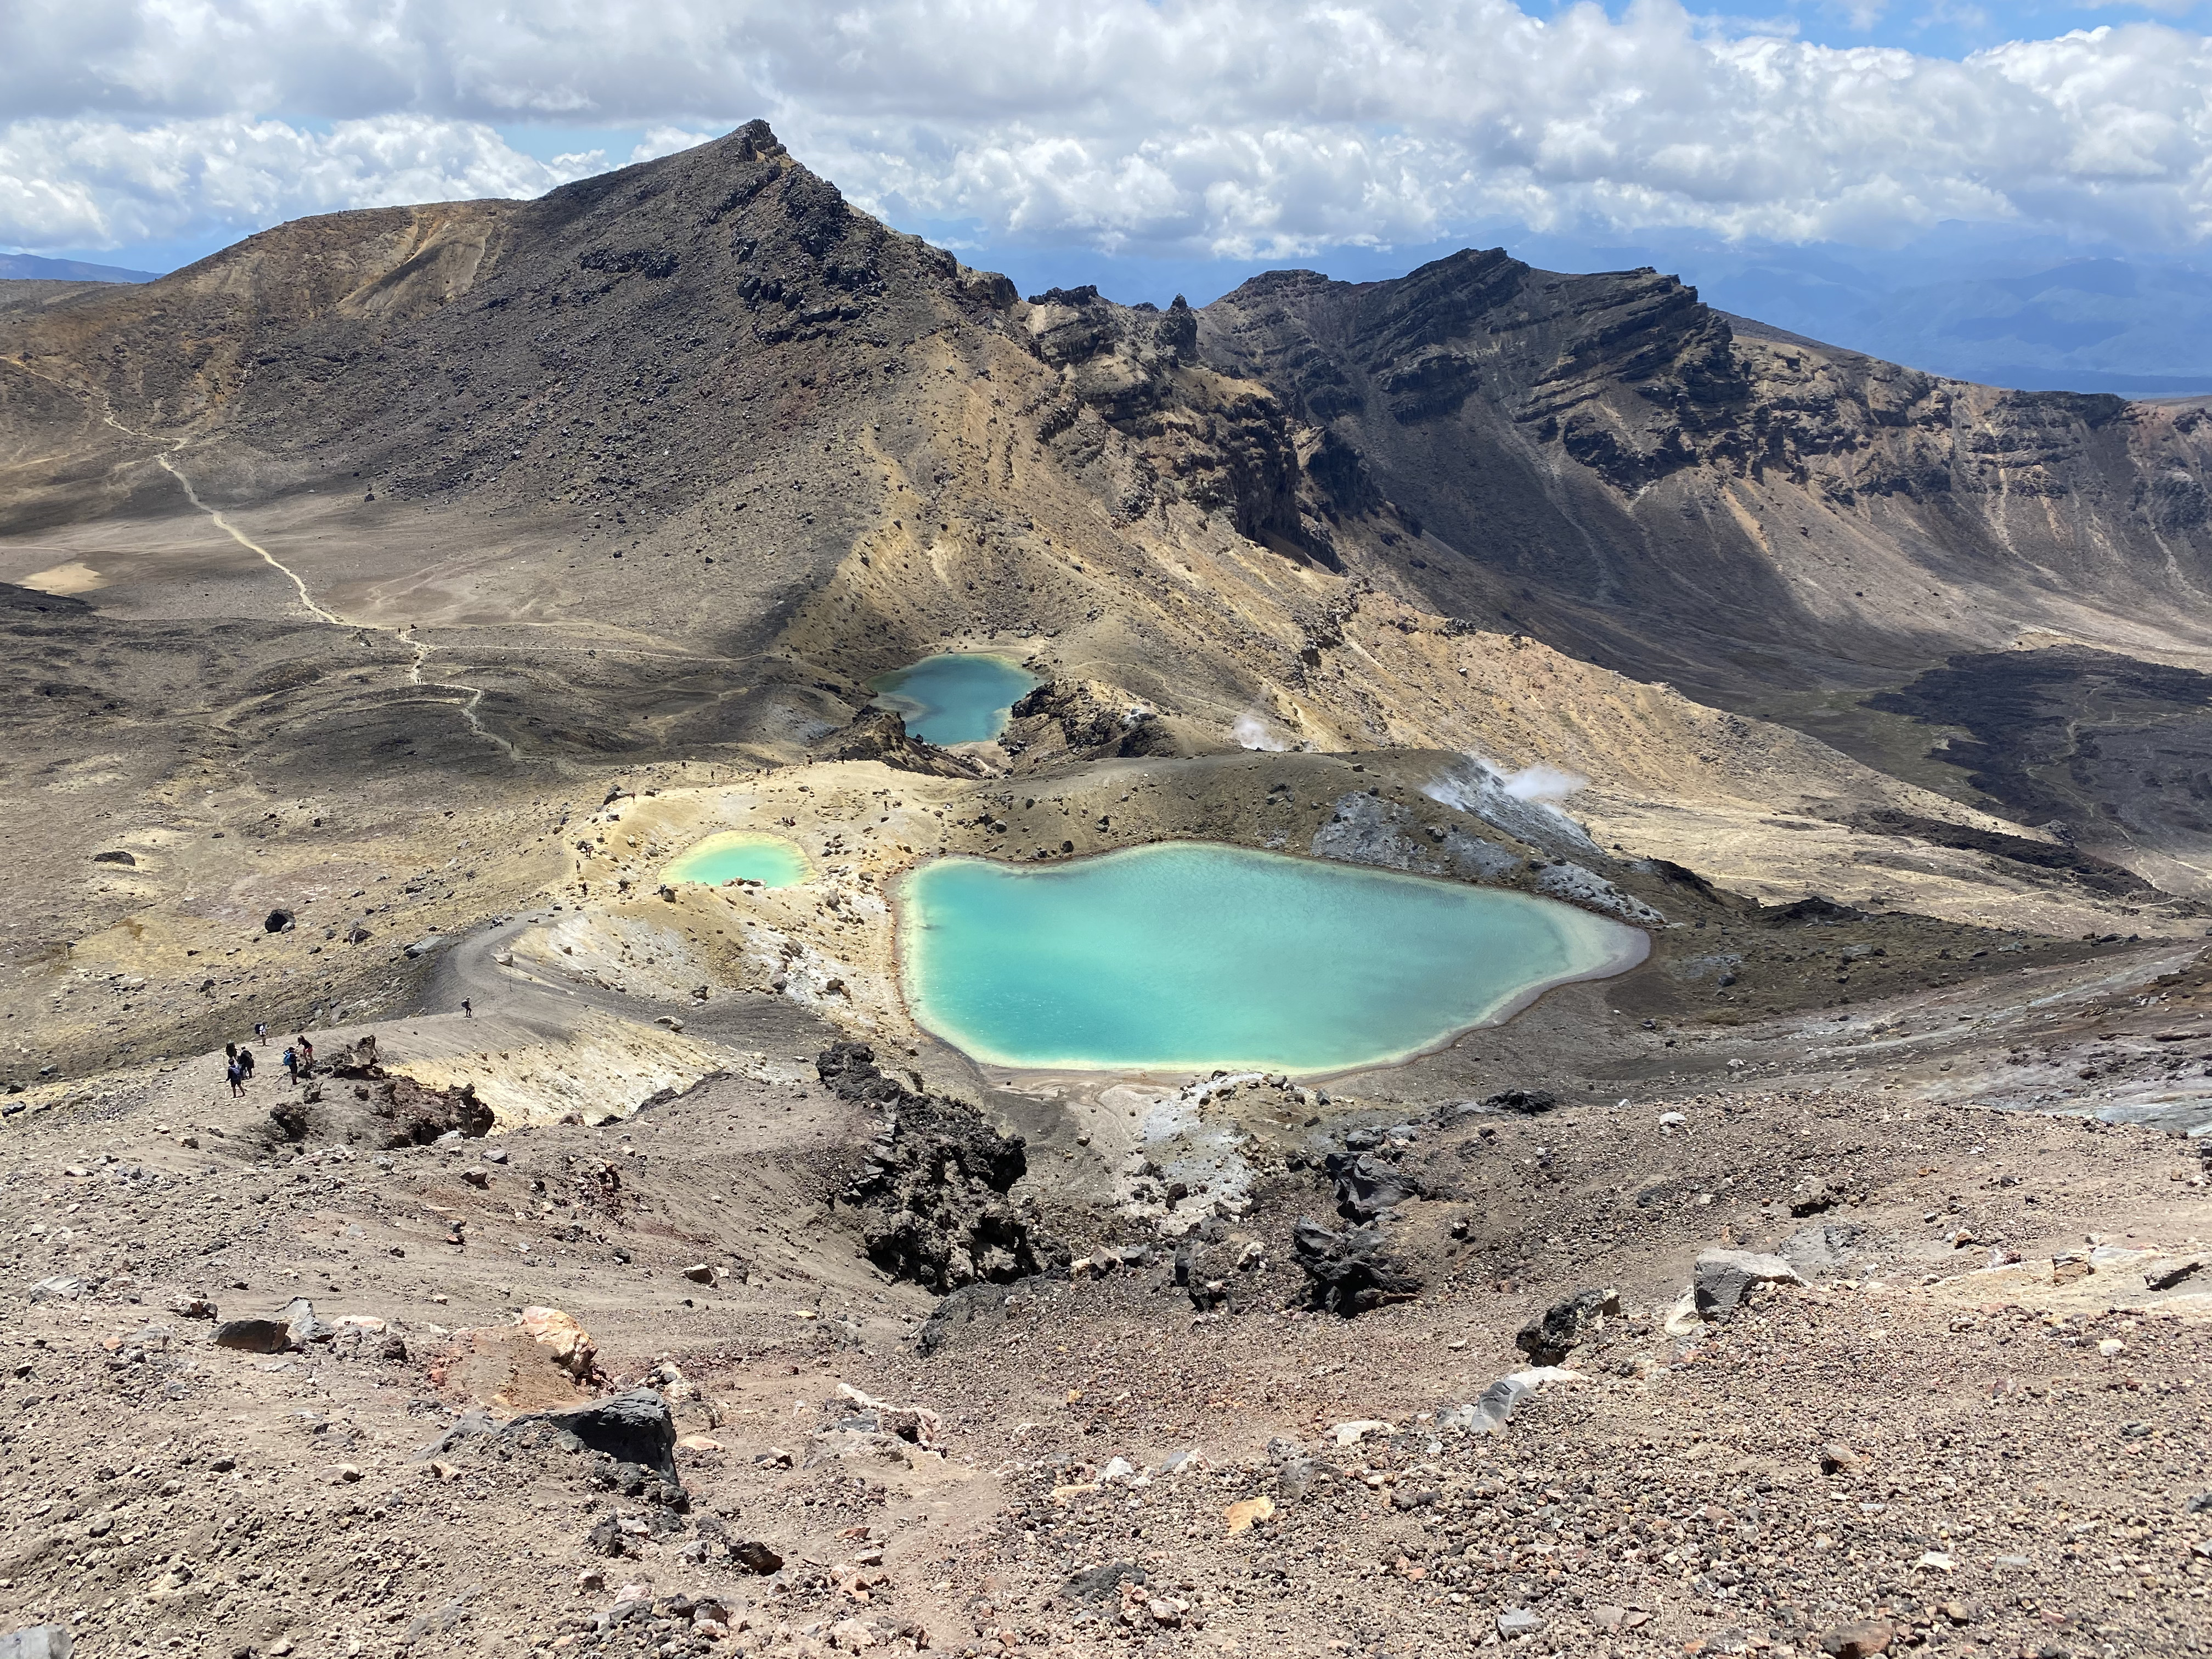
Looking down from the top to the Emerald Lakes.
Credit: Two Rivers
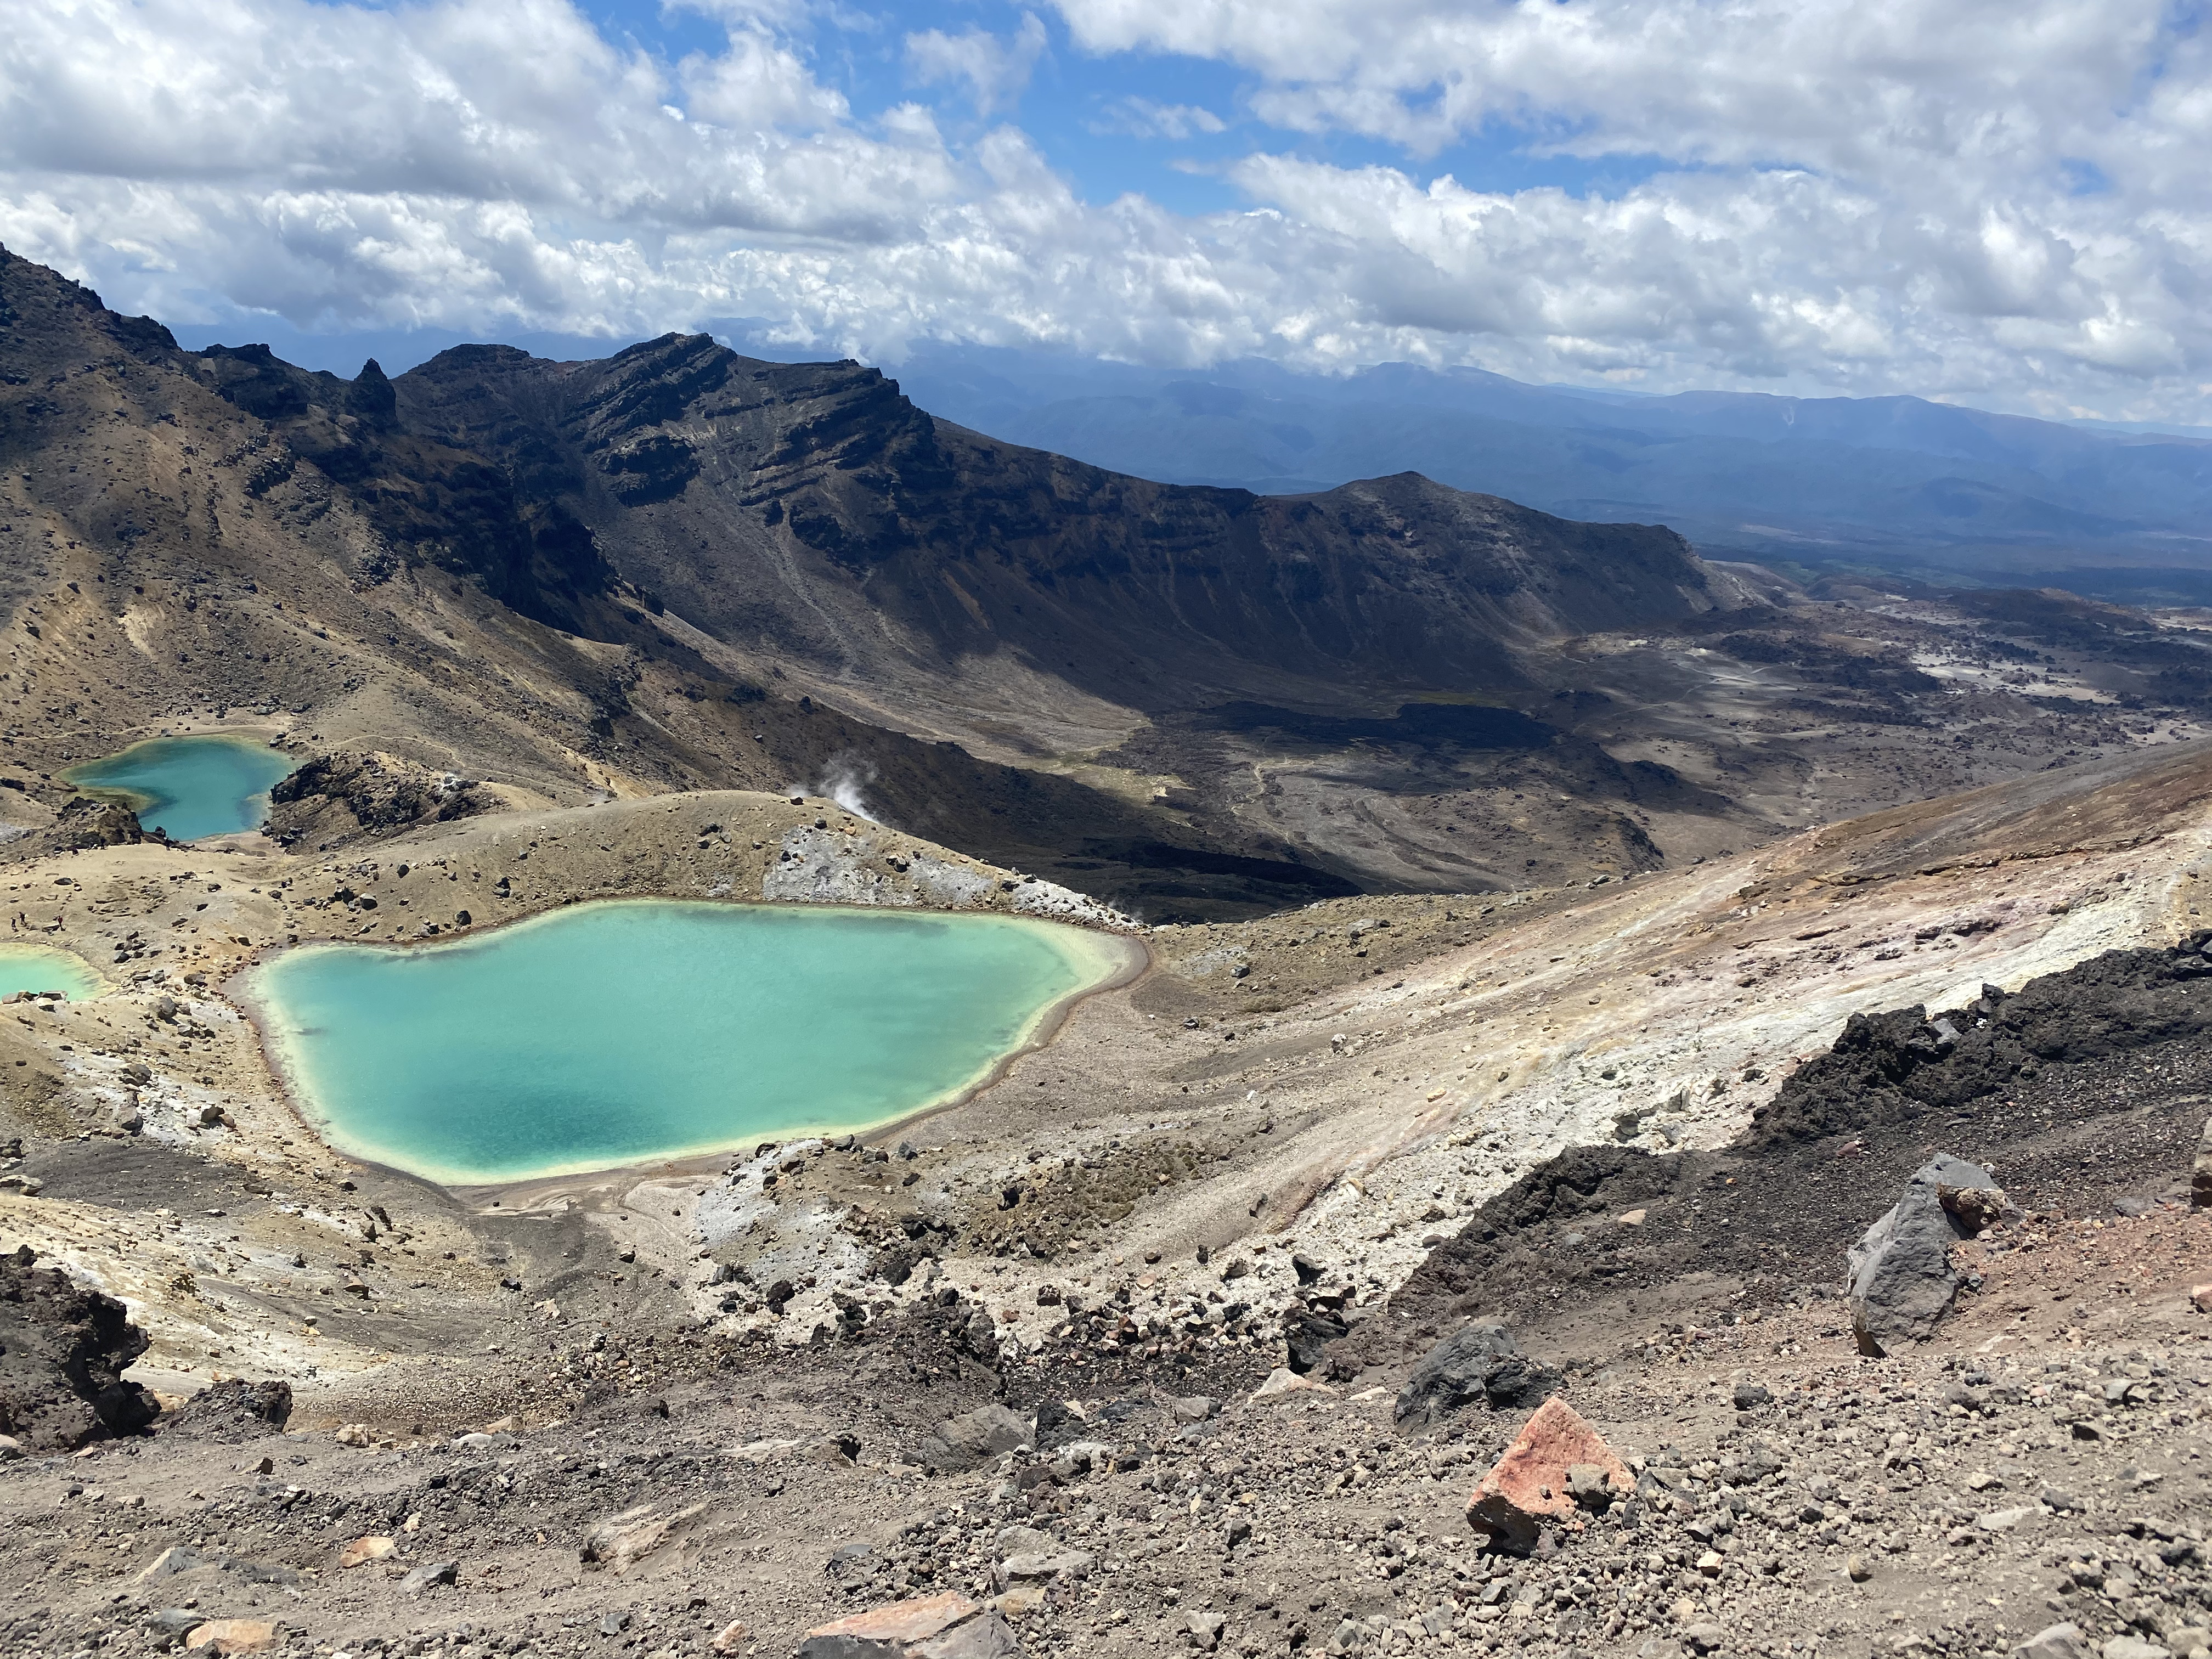
The Emerald Lakes. The climb down from the summit is a challenge due to the scree on the slope, walking poles really help at this point.
Credit: Two Rivers
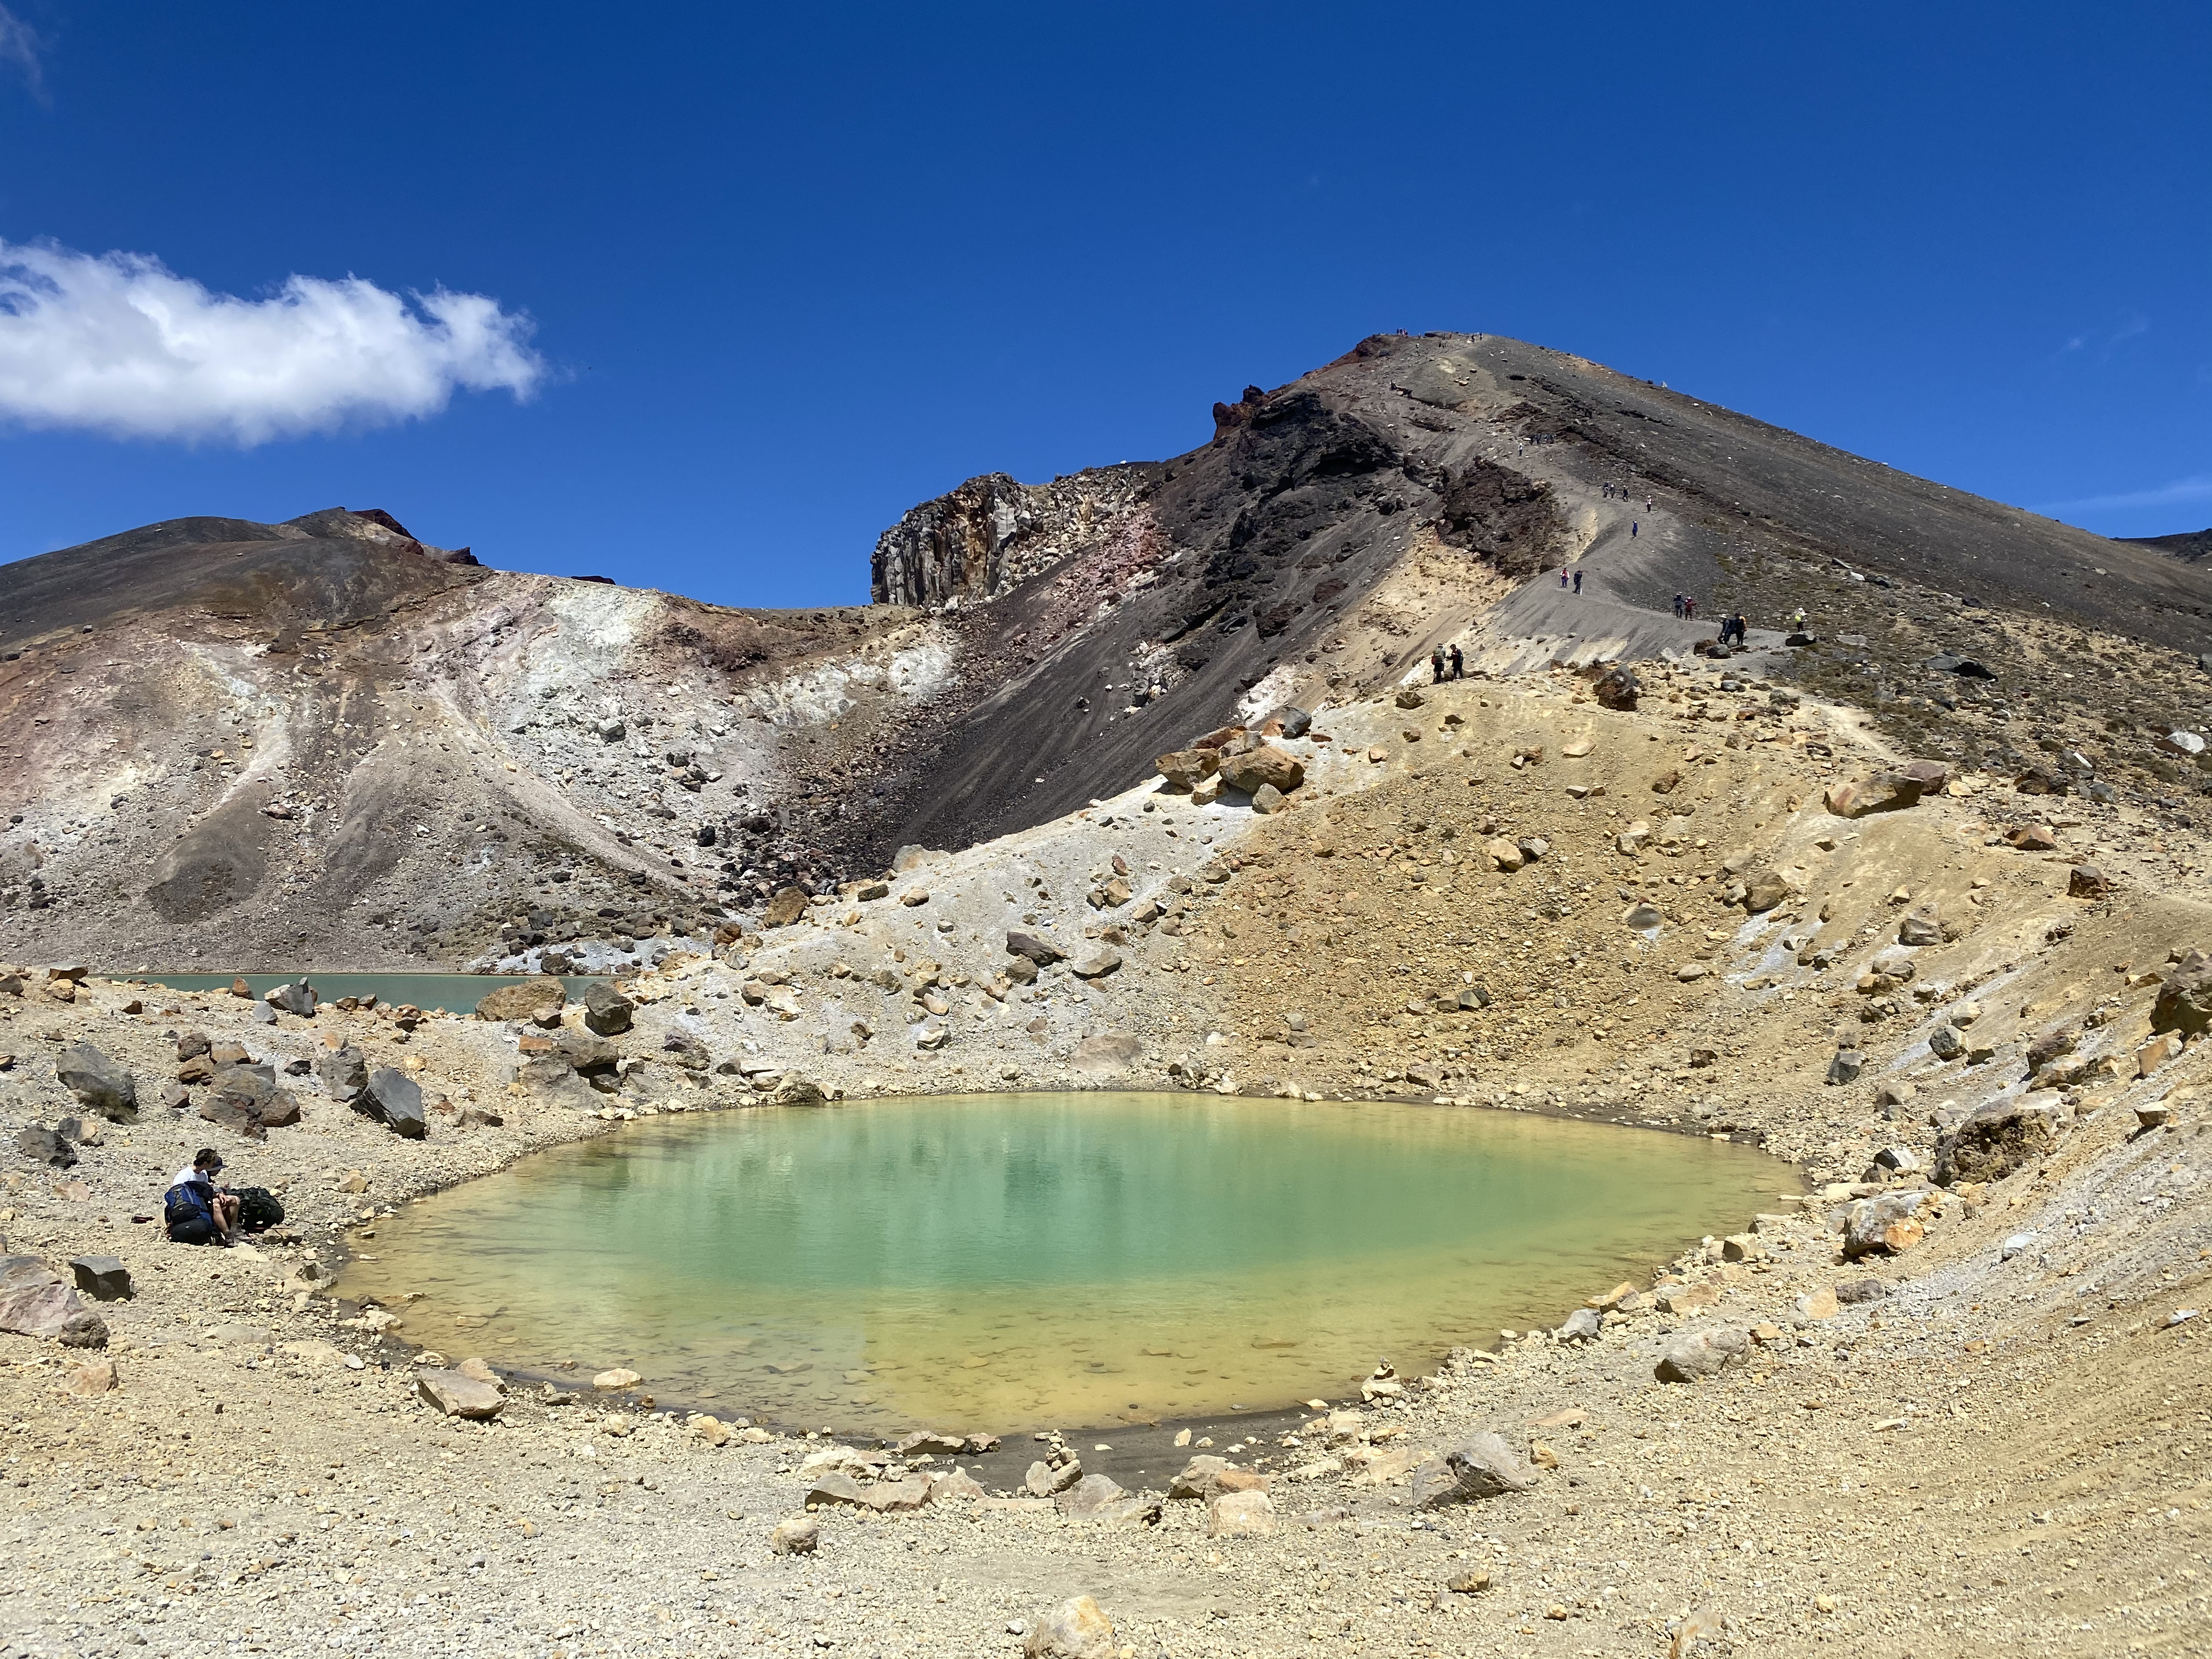
Looking back from the Emerald Lakes to the Red Crater.
Credit: Two Rivers
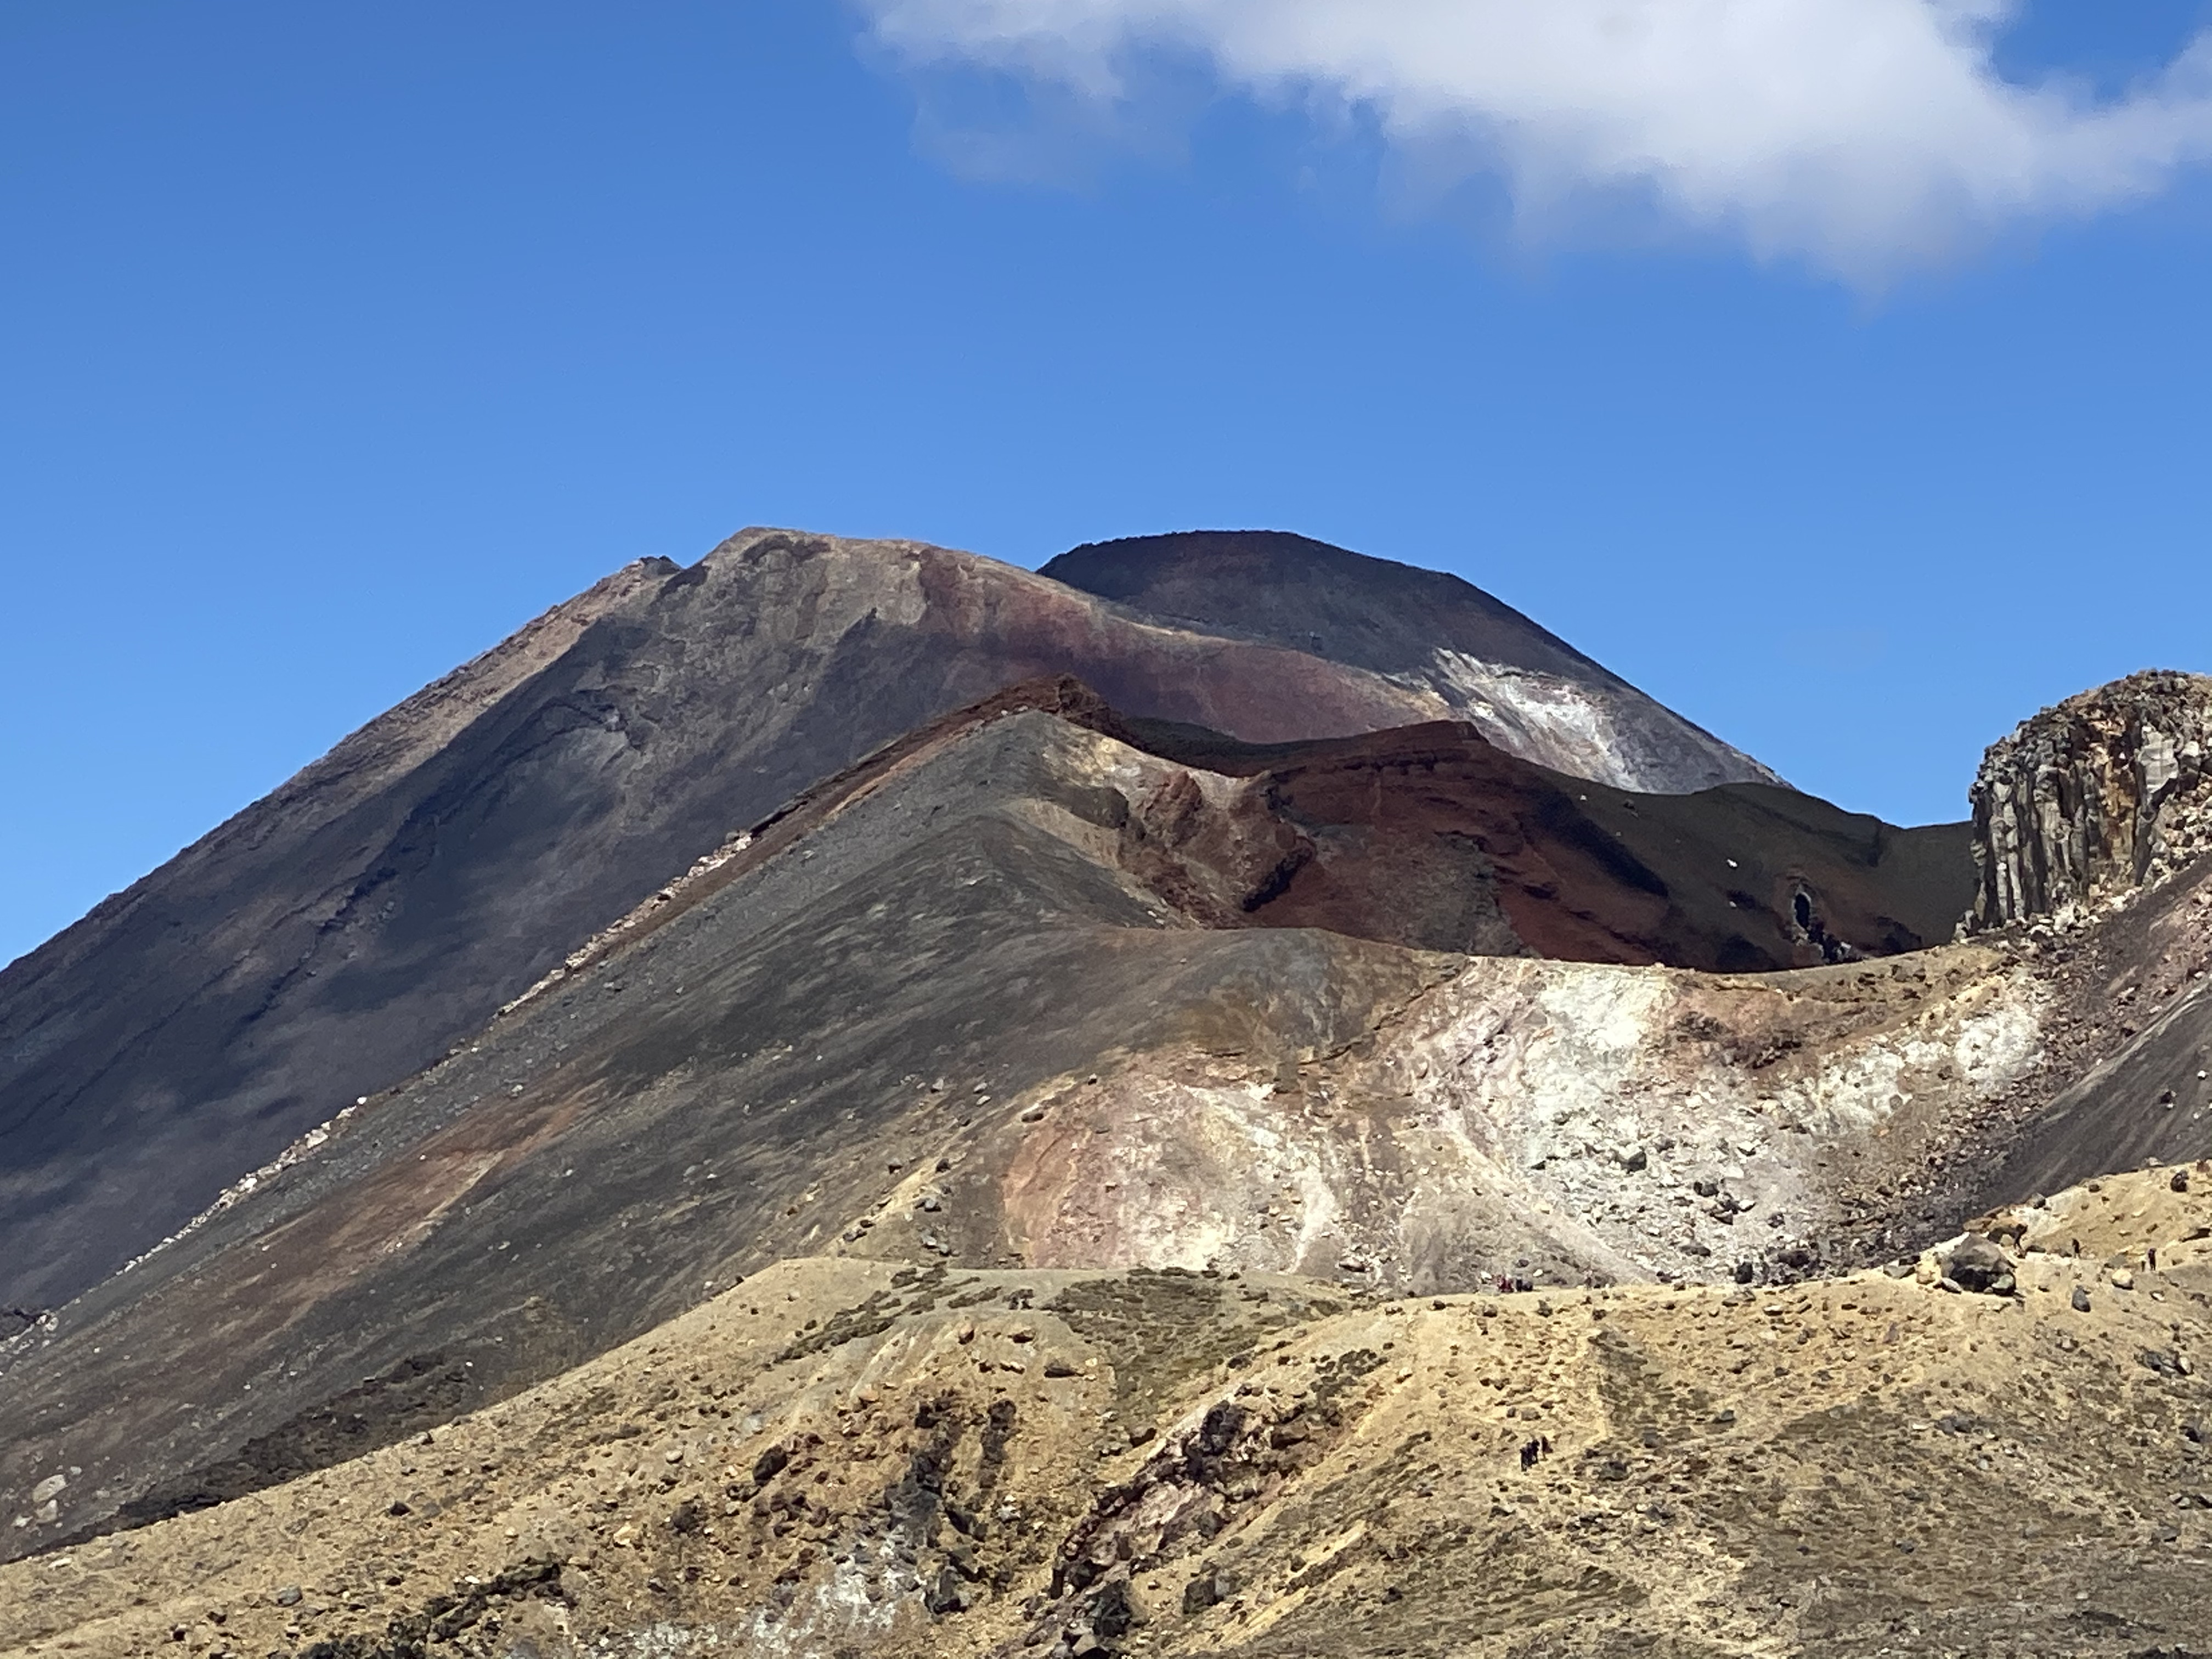
From the central crater, looking back up to Red Crater and on to Mt Ngauruhoe.
Credit: Two Rivers
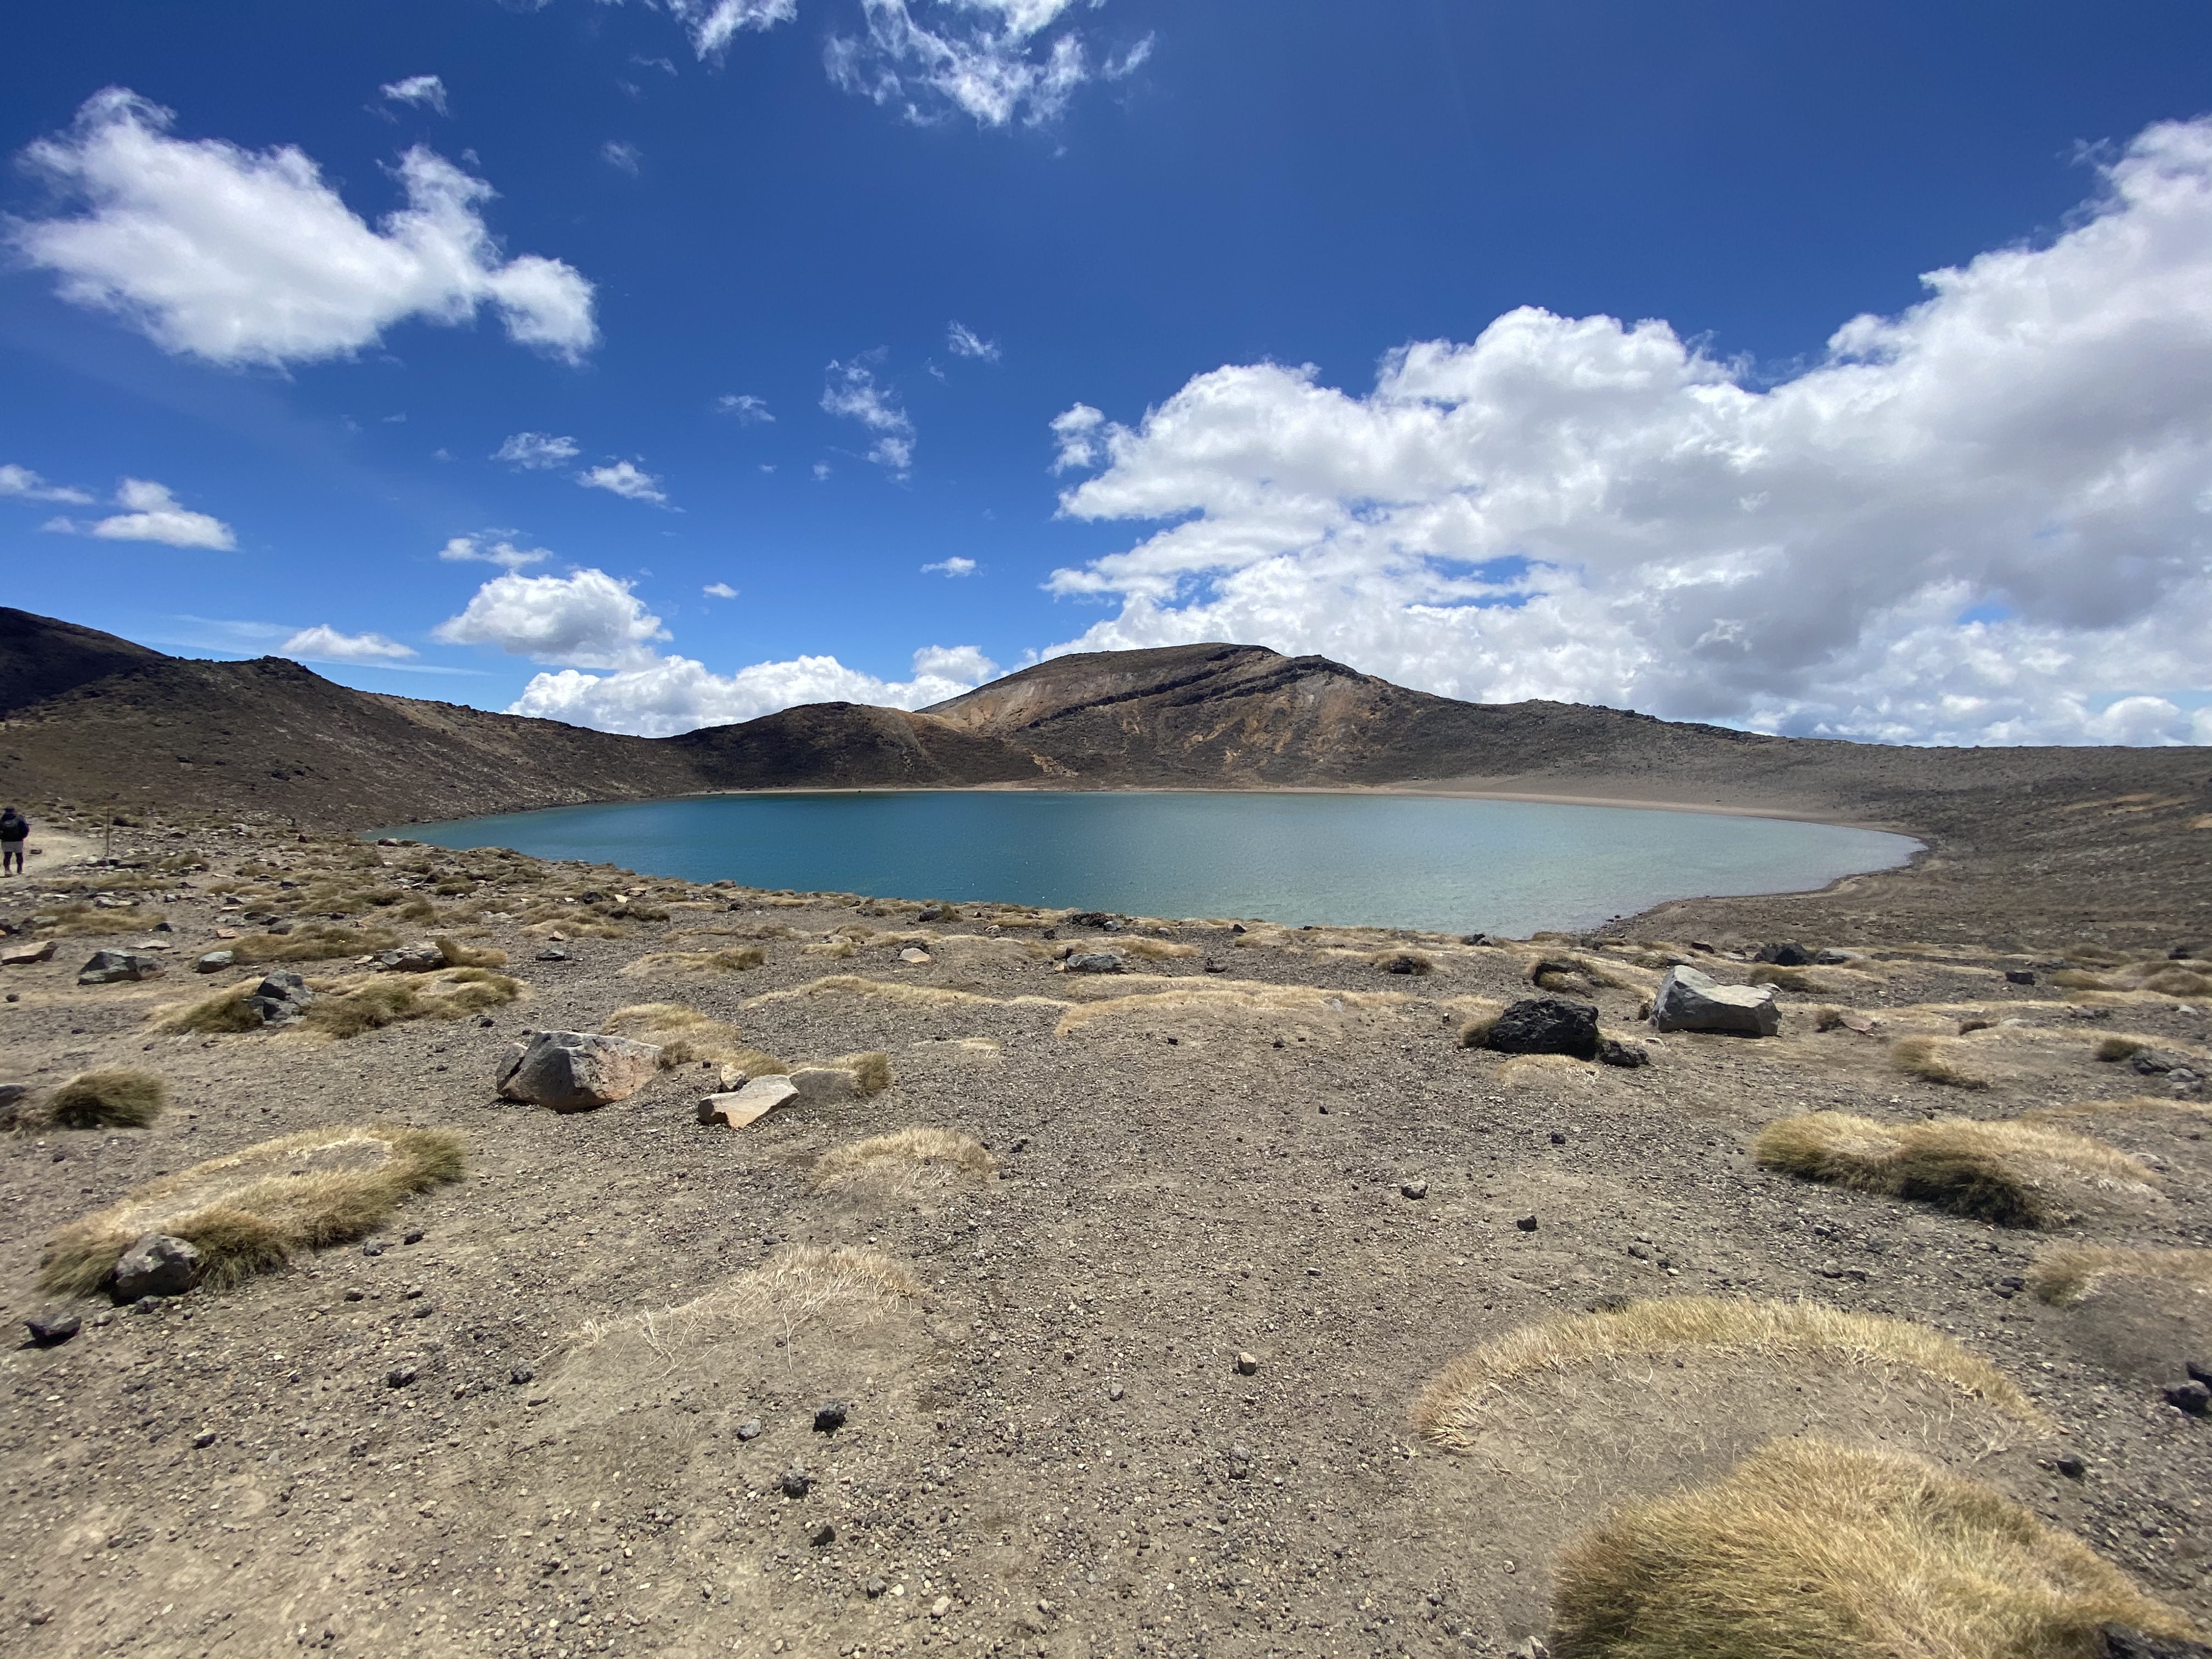
The sacred (Tapu) Blue Lake.
Credit: Two Rivers
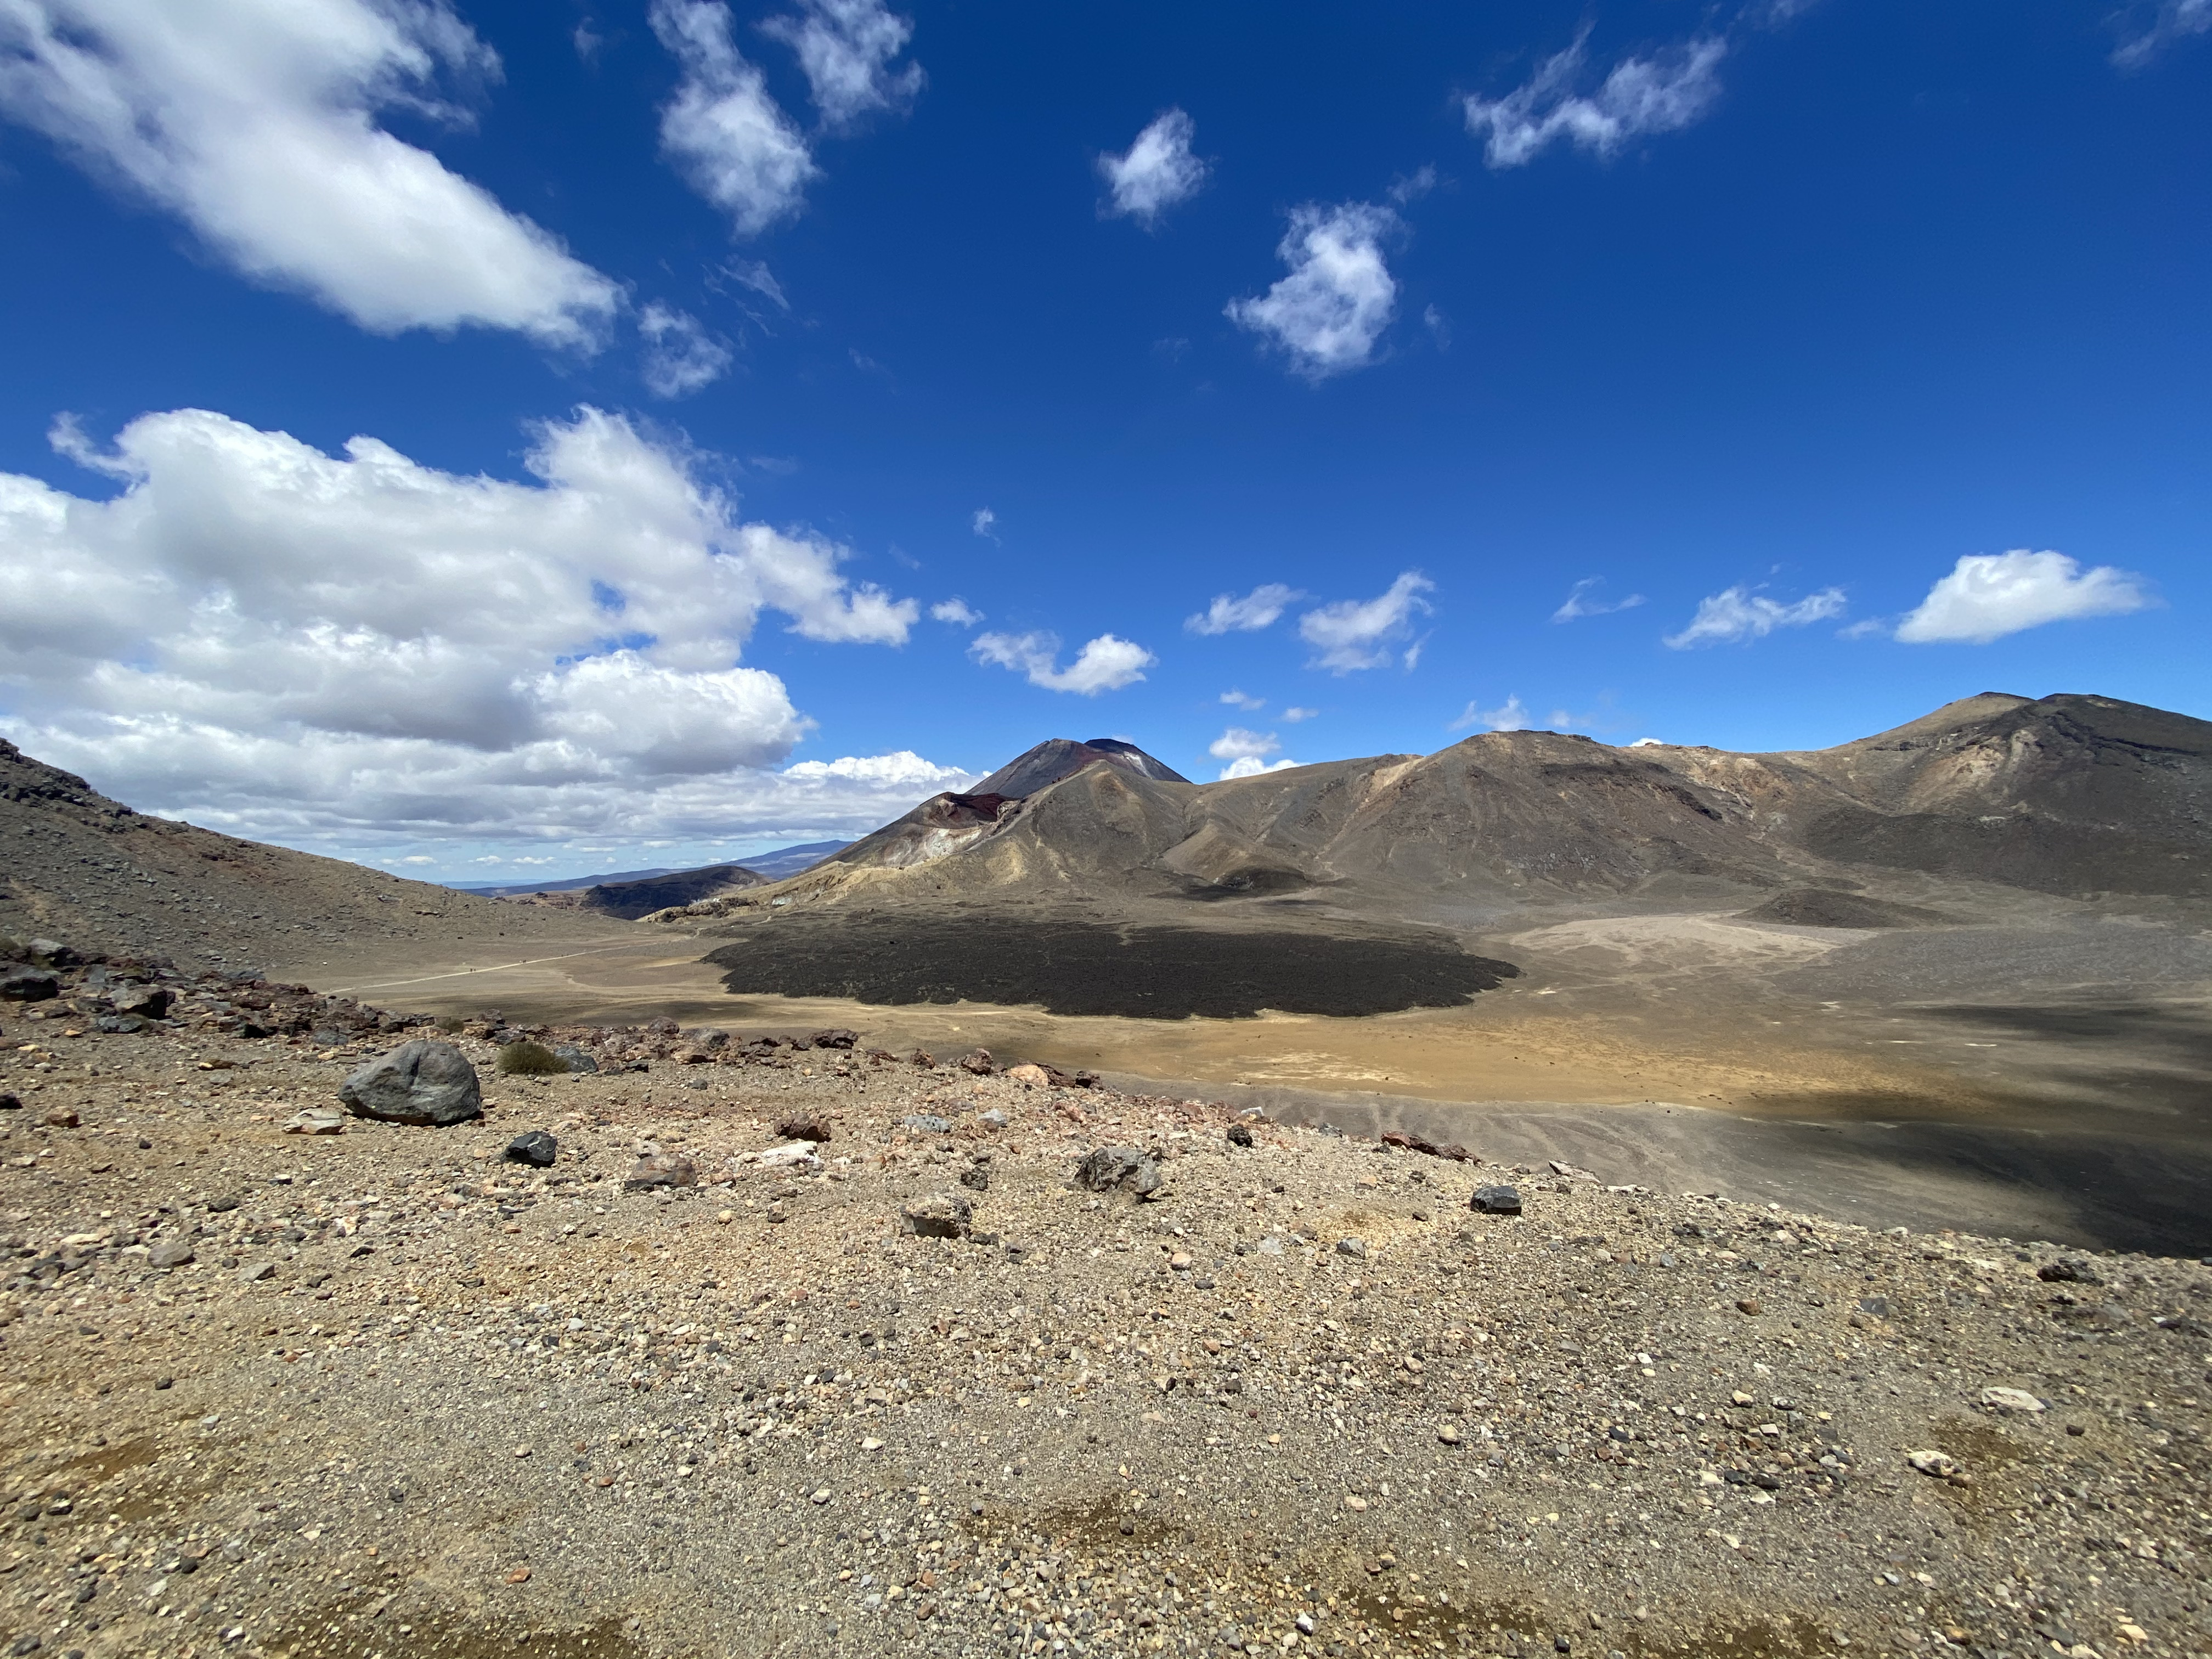
Looking back across Central Crater at the route travelled.
Credit: Two Rivers
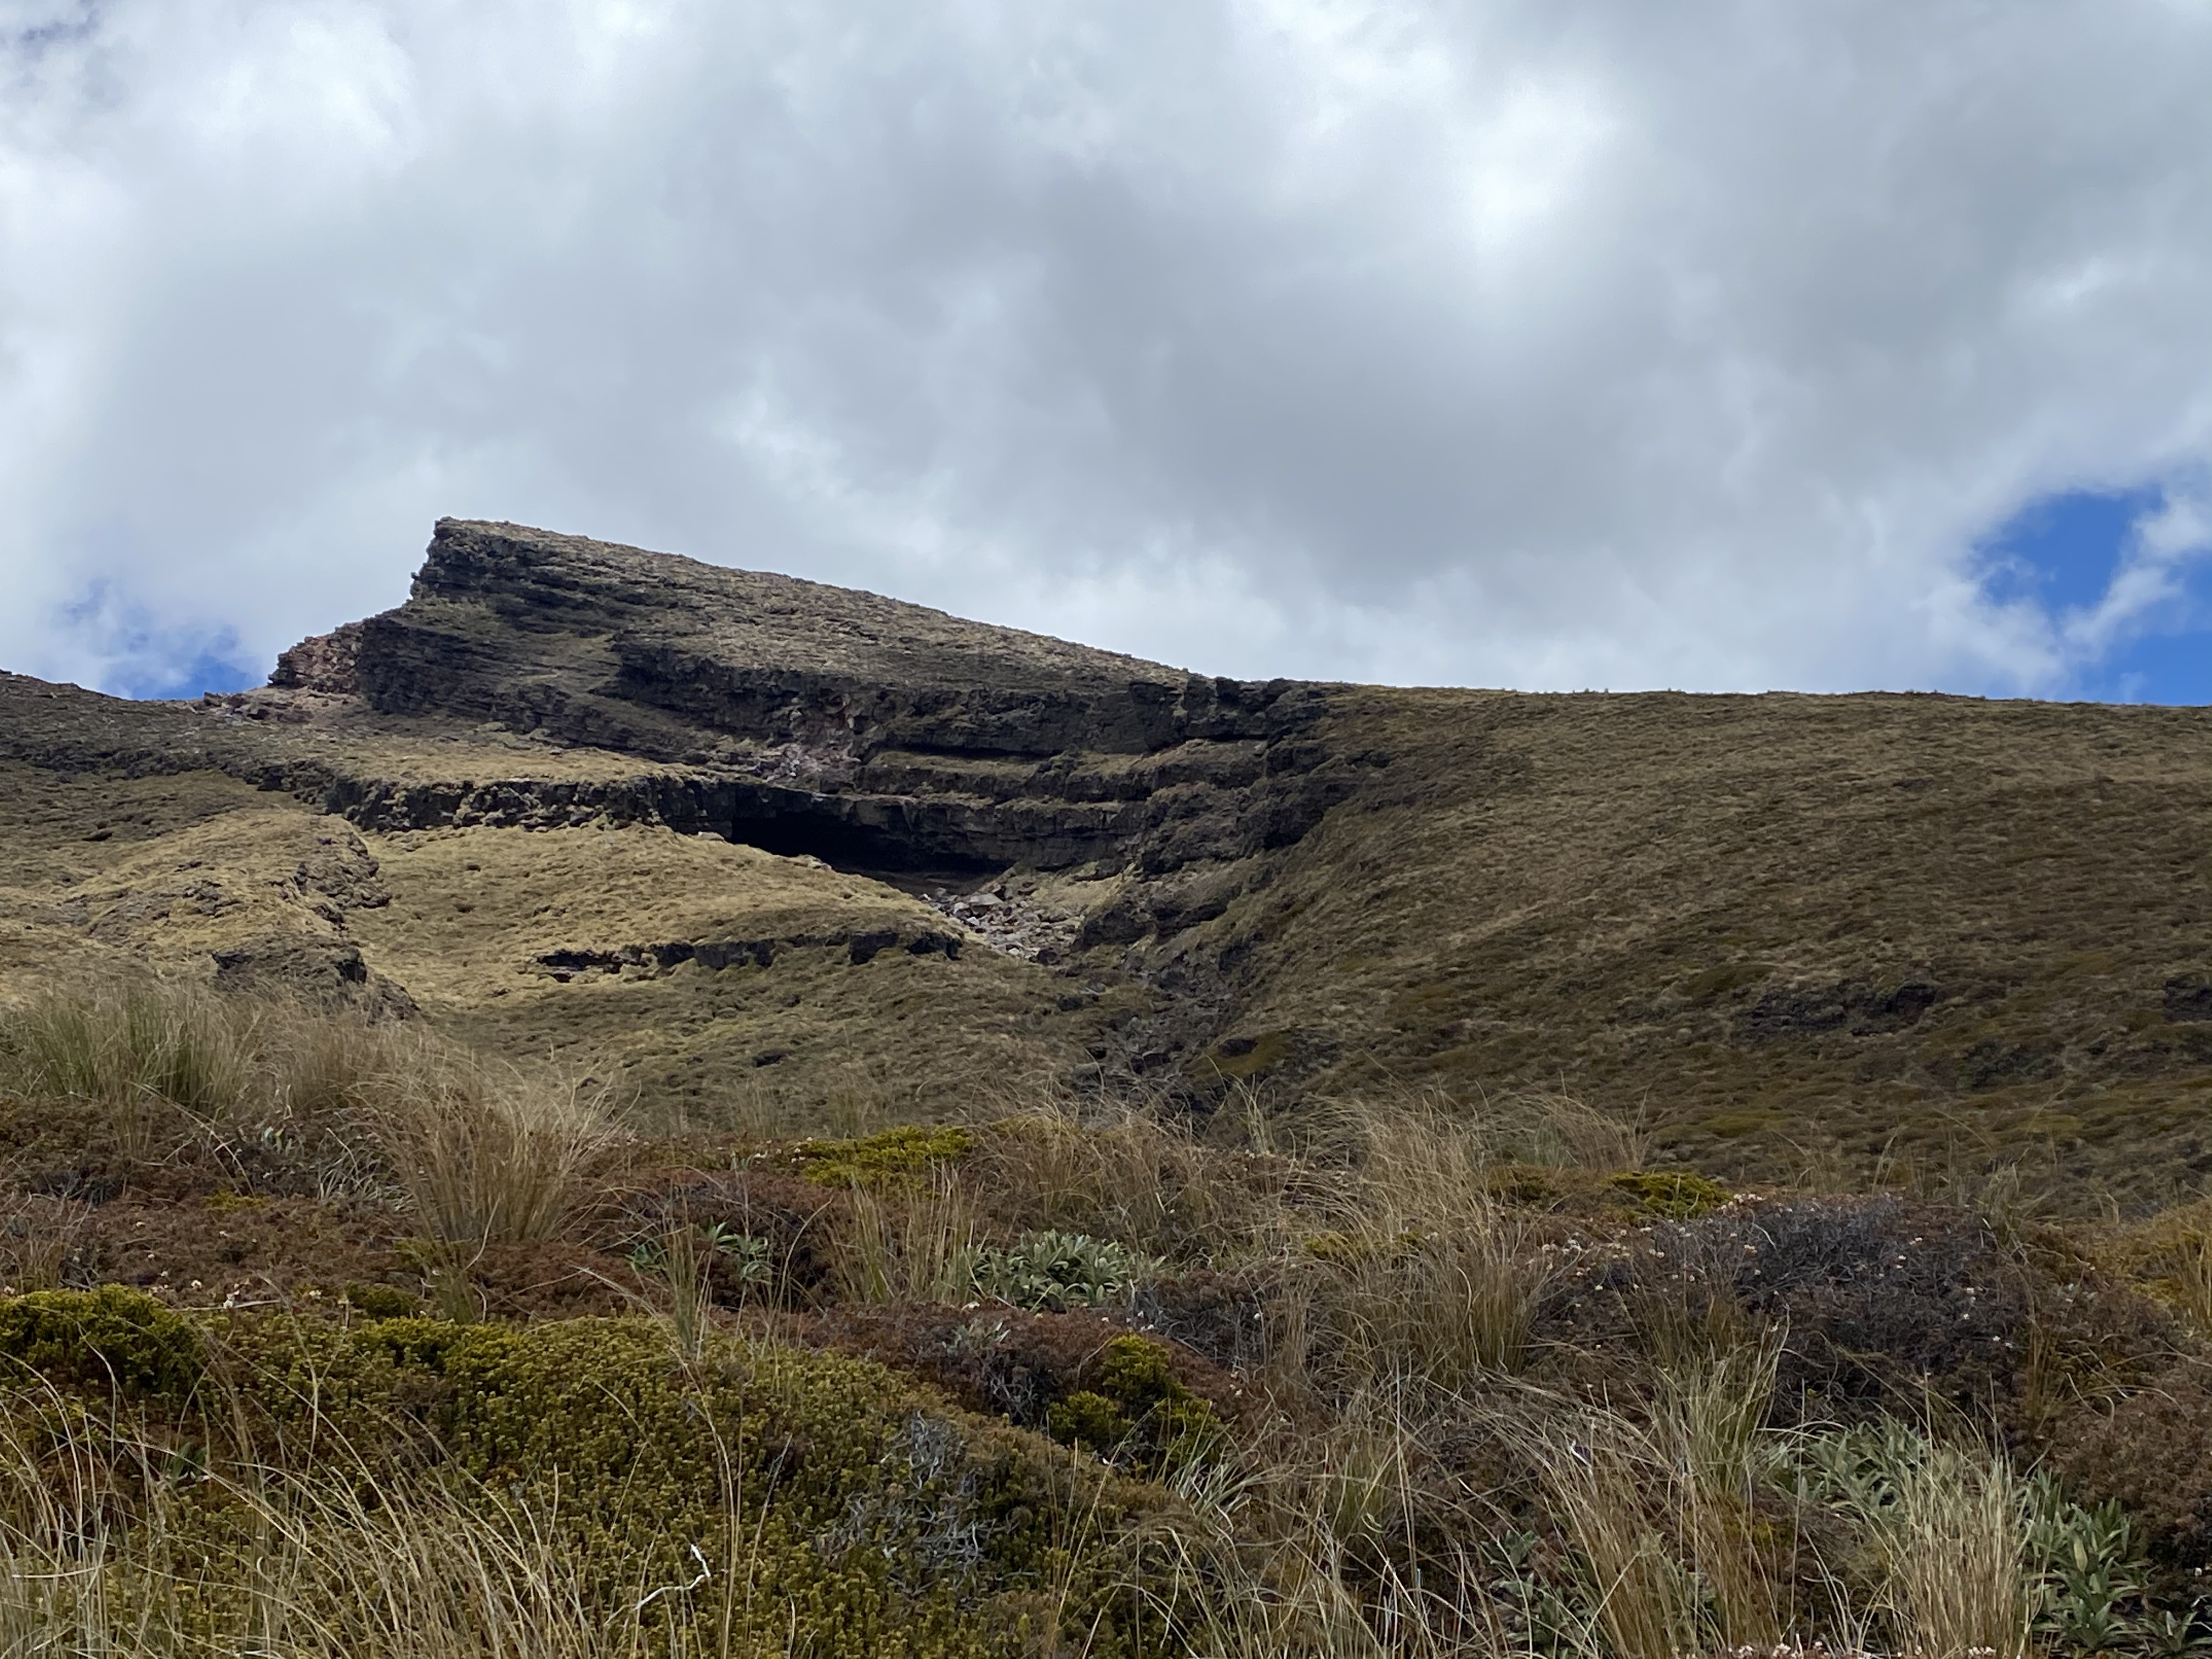
The descent and return to vegetation. This area is really hard on the thighs.
Credit: Two Rivers
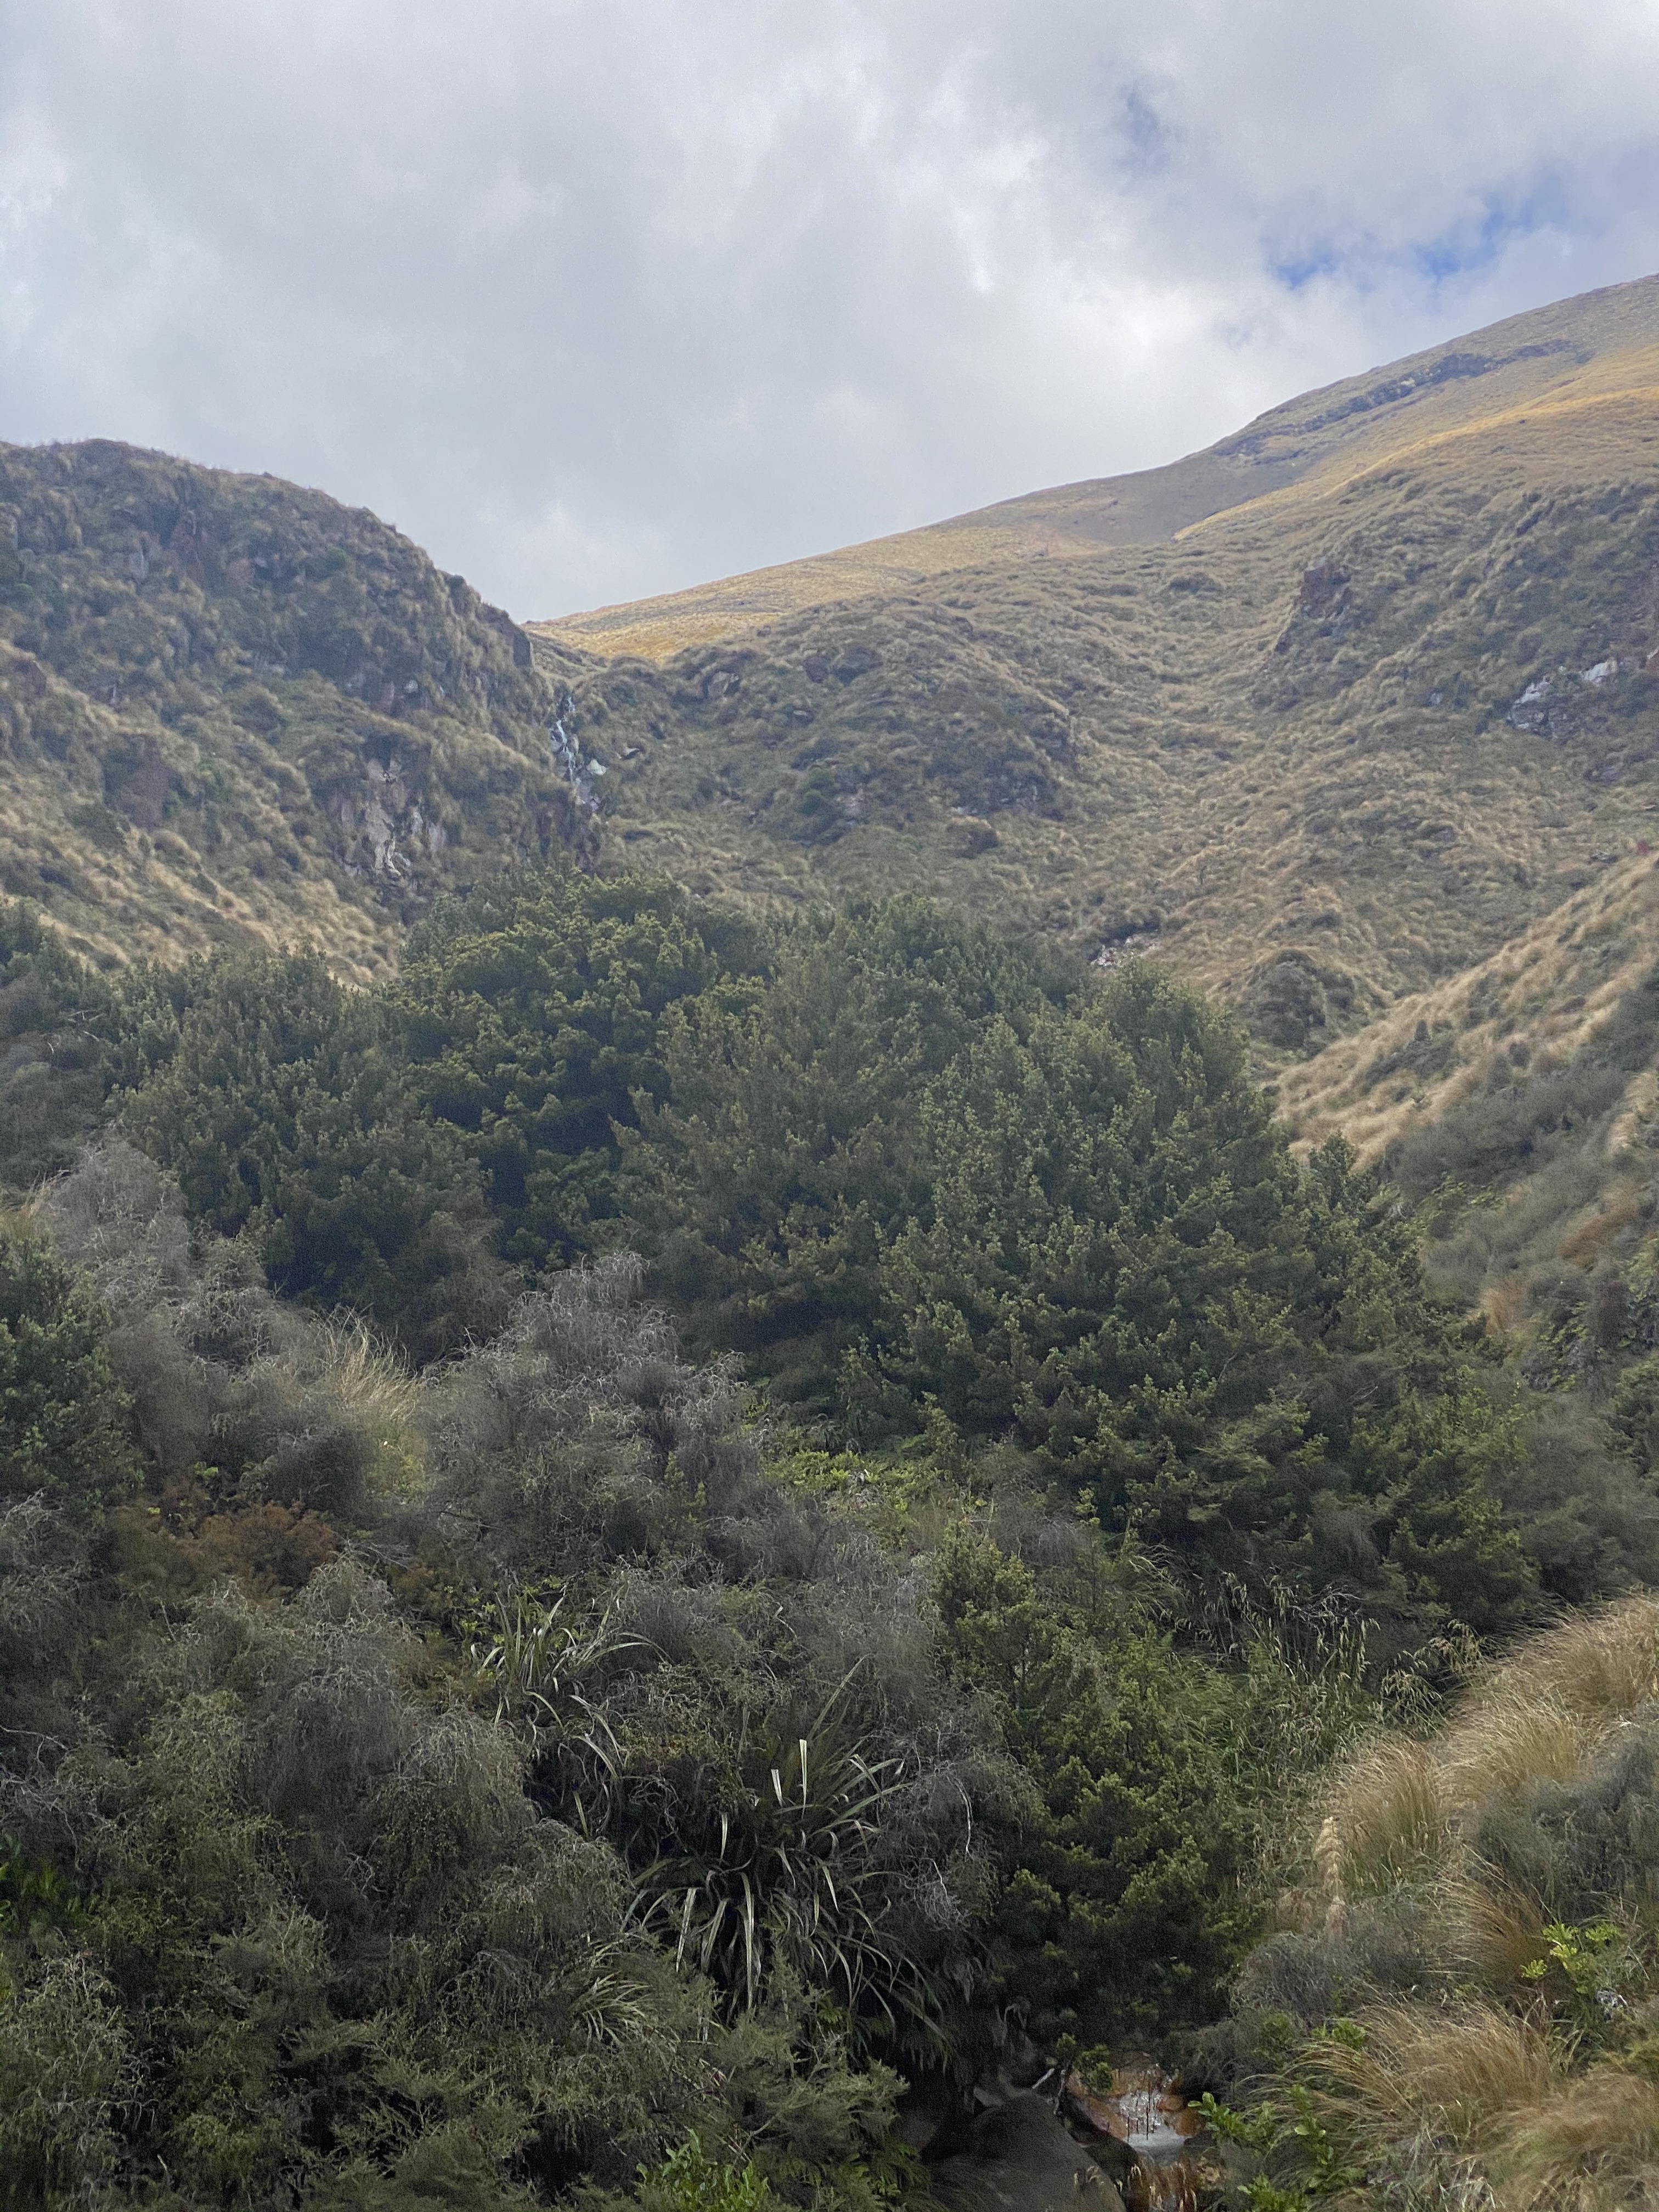
The descent and return to vegetation. This area is really hard on the thighs.
Credit: Two Rivers